DIY -Installation of the Front Door

It’s in.  It’s done!   I love it so.  Oh….wait a minute…let me back up and give you some back ground.

Many moons ago, in a land called Montana….there was this girl who bought a front door and wanted it installed.  The front door that was on the house was a good front door….just not the right one.  So after many internet searches, the perfect one was found and purchased……in March.

Old Door:

IMG_0045The new front door has been impatiently waiting to be placed in its rightful place…(ok – the impatiently waiting part was all me)

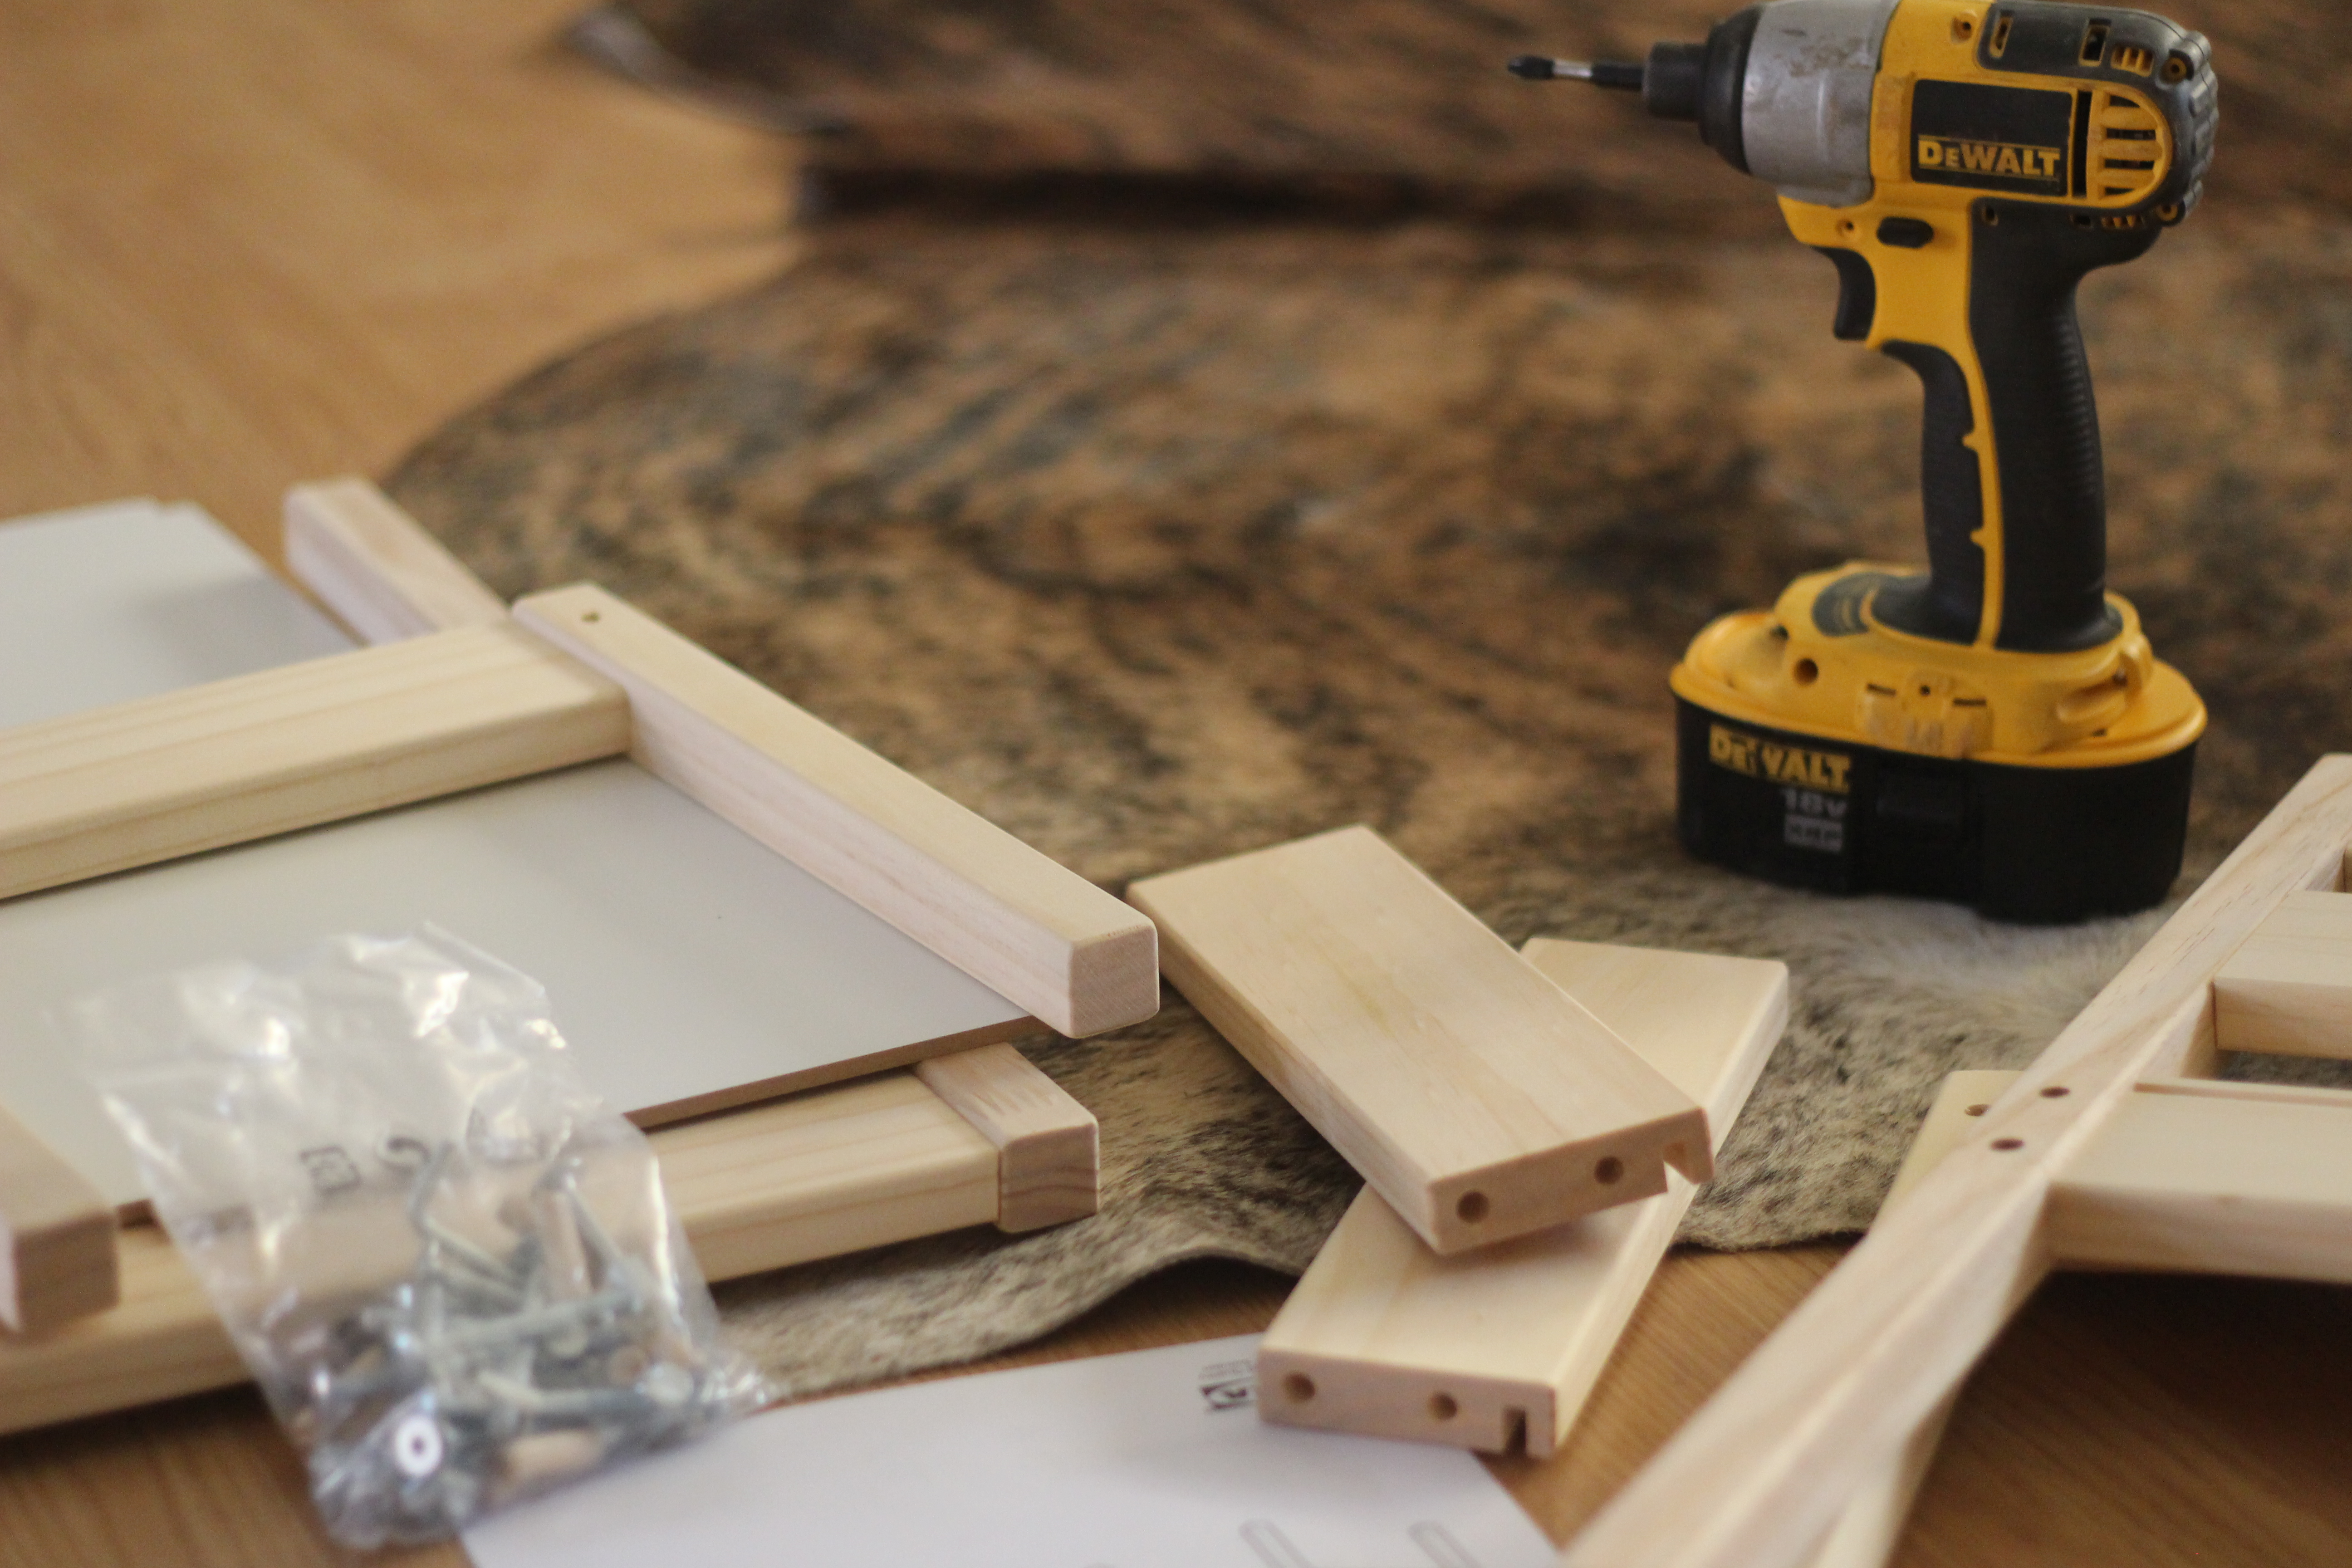
Dave was super awesome about the whole thing.  He had to do all of the work to get the hinges cut in and the holes cut for the deadbolt and door handle.

IMG_2344
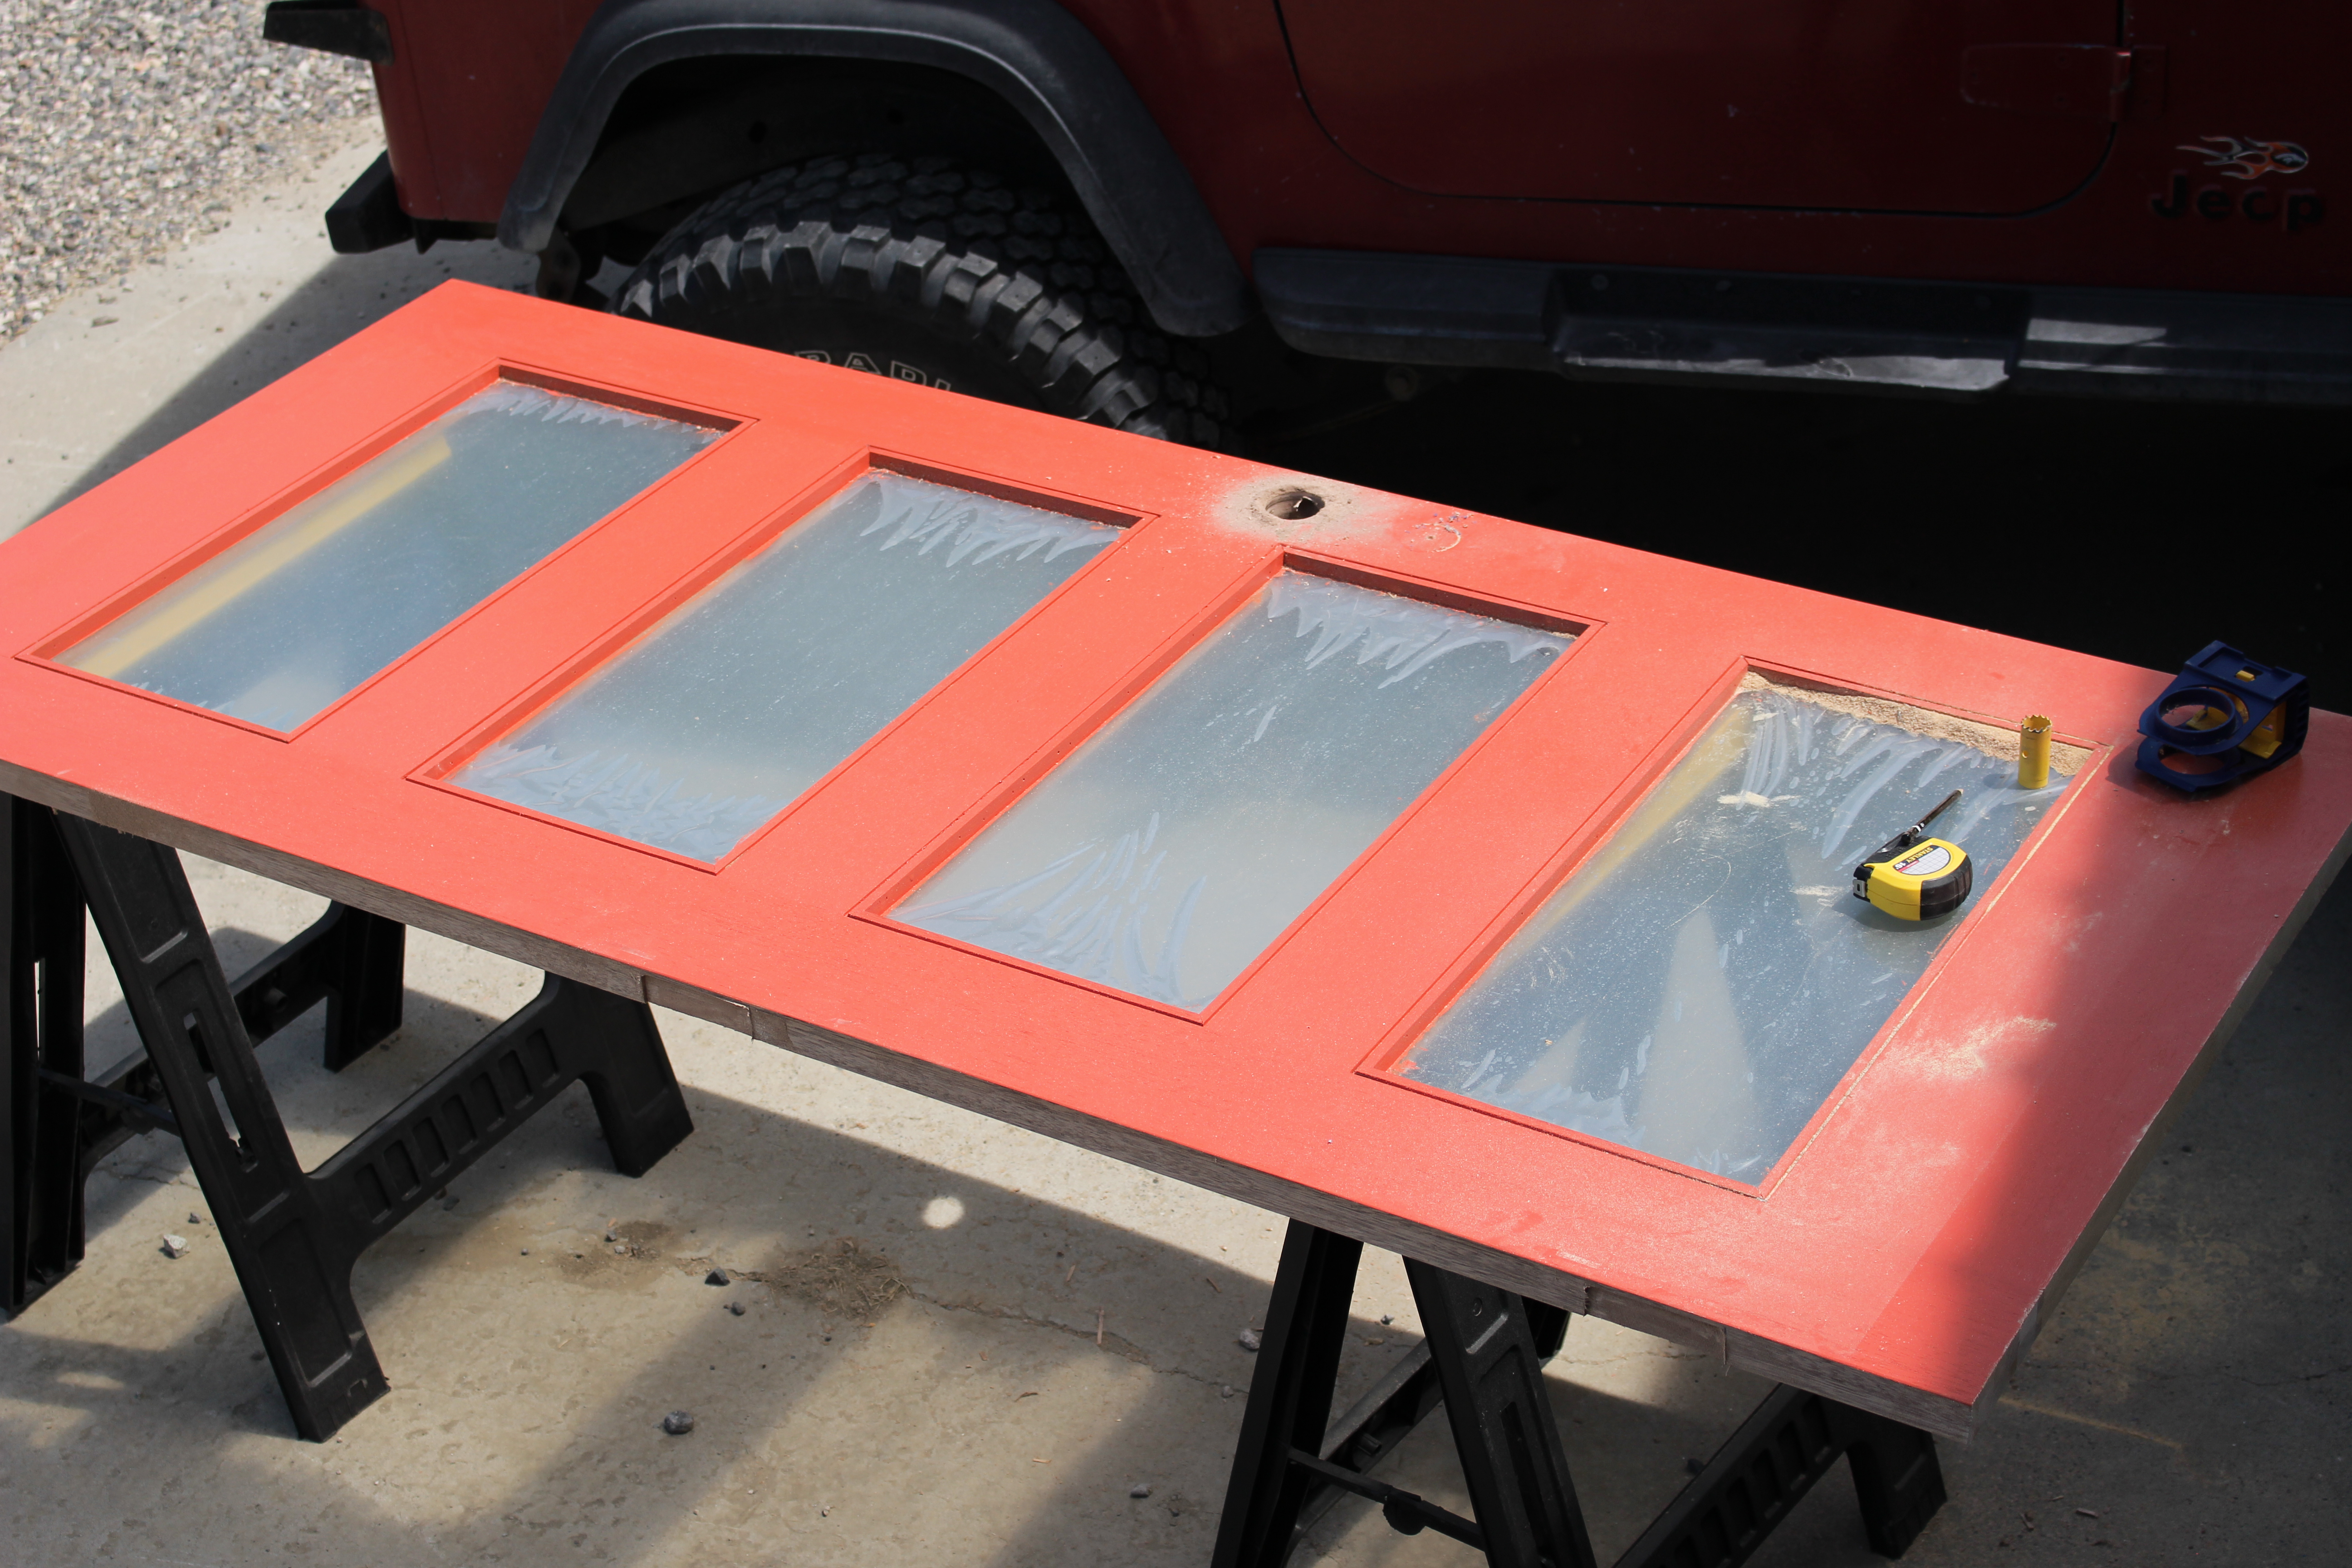
There was only one mis-step…..the door was up -but we needed to take it down and shave off a little bit from the side to ensure a good fit.

IMG_2345
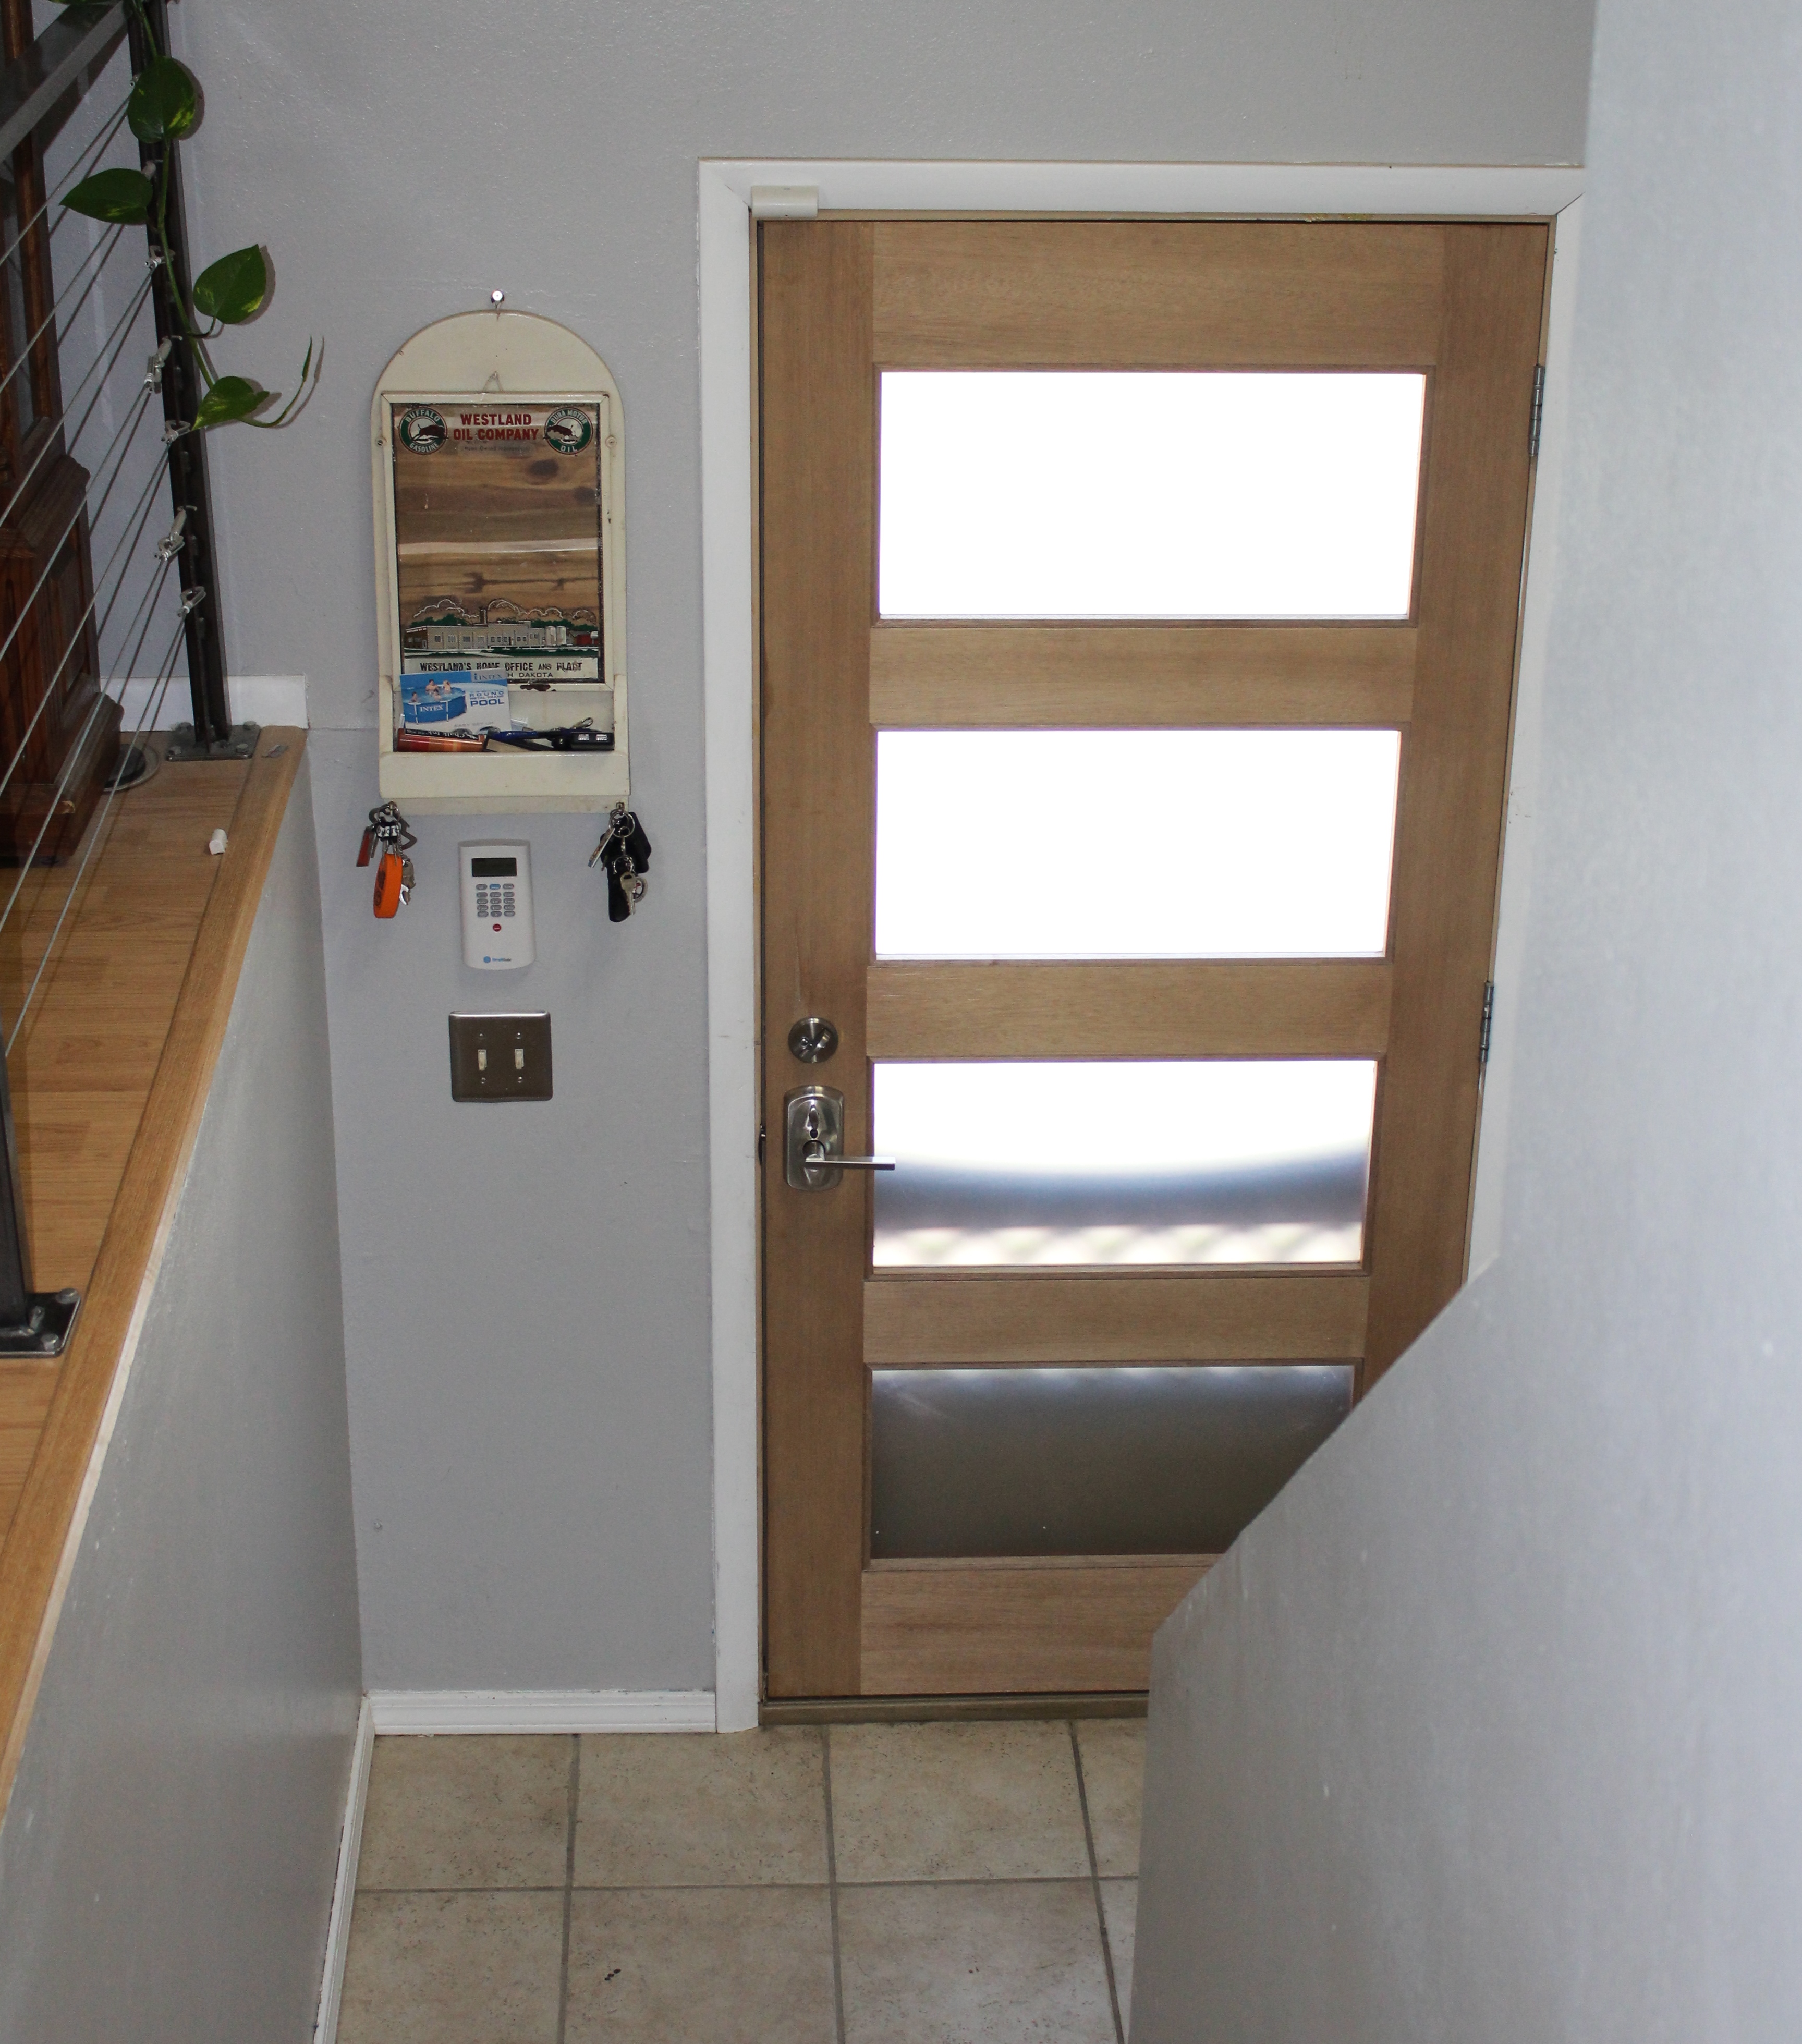
Isn’t it wonderful??  The slammer screen door kind of takes away from the overall affect.  But that slammer door is staying, at least for the summer.

IMG_2346IMG_2354


Transform: Indoor table to Outdoor table

When Dave and I moved into this house, I purchased a pub table for the downstairs…..sadly it got little to no use.  Recently, I decided to try and re-purpose it as an outdoor table.  I did quite a bit of research to find the right way to do the transformation.  The pub table is all fake pressed wood and totally meant for indoor use.  There are so many tutorials out there and each one is a little different in what they think is imperative.  I have the Valspar paint left over from painting (still not put up) but I needed some supplies from our local Lowe’s…..mainly the primer…..and while I was there, I found the Rust-oleum NeverWet…….Can’t wait to see if it works out.

IMG_2342I started with a quick sand to rough up the surface of the fake wood that is the pub table and then put a layer of the Zinsser primer on.

IMG_2319 I put 3 coats of the Valspar exterior paint over the primer (and I actually followed the directions on timing).  The Rust-oleum is a 2-parter, base coat and top coat.  It is a little rough as a top coat, but if it helps repel water, I am all for it.

IMG_2339Yup – can’t wait to have a get together and use this baby.

IMG_2340PARTY AT MY HOUSE.

Grill Surf and Turf recipe….with pizza appetizer

Dave and I had a friend, Chris, over for dinner last night.  I wanted to make something super yummy for him, as he is in town from Germany.  After a quick couple of comments from Chris – I decided on a Surf and Turf menu with a pizza appetizer (cooking for my audience).

  • 4 to 6 Steaks
  • 1 can or bottle of Beer
  • spices
  • 20 jumbo shrimp
  • 2 packages prosciutto
  • 1 onion – sliced
  • handful of mushrooms (or more if you love them)
  • band of asparagus
  • butter
  • splash of olive oil
  • splash of lemon juice
  • dash of dill

IMG_2325Our dinner started with a pre-made BBQ chicken pizza as an app.  As we were snacking on that, I continued with making the rest of the meal.

IMG_2329PREP WORK – Pre-heat grill

Marinate the steaks in the beer and your favorite spices for no less than 2 hours. Overnight is best.  Take out of the marinade, add salt and pepper ……AND a pat of butter on each steak….you know you want to.  Place on grill.  Keep on until your desired ‘doneness’.

Place your asparagus in a grill basket and while on the grill – mop with a mixture of olive oil, lemon juice and dill.  Pull when they turn tender.

IMG_2327Saute the onions and mushrooms in some butter and get ready to layer that yummy awesomeness all over those steaks.

Peel and de vein the shrimp, removing the legs but keeping the tail.  Wrap each piece of shrimp in prosciutto and thread on the skewer.  Repeat until all shrimp are done.  Set aside and place on grill when steaks are only a few minutes from done.  Flip once after roughly 2 to 3 minutes and pull from the grill when both sides are pink.

IMG_2326

Timing is everything.  Steaks first, then asparagus, then get your saute on, lastly the shrimp……pull off the grill or get off the stove and place on your plate and fill your face.  You will be glad you did.

IMG_2331We had a great time with Chris….it gave me a wonderful excuse to try something new and we got our conversation on……wish it could have lasted longer.


New table for Jane’s room

Even though Jules has her own room now, she ends up in Jane’s room 95% of the time.  They were just hanging out on the bed, playing on the floor most of the time……or coming to the living room to use the coffee table.  I wanted to add something very functional for them to use….I want to extend the playtime for them for as long as possible.  There is almost 5 years between them and anything I can do to keep the sibling love and play going….I am giving it a whirl.

I wasn’t able to find anything that I liked locally, so I started in on the internet search.  I ended up going with an Ikea table.

IMG_2138Well – the box came and I was in construct mode.

IMG_2140It took me less than an hour and I got a completed table with 2 chairs.  So far the set is a hit.

IMG_2142The girls have spent a bit of time using the chairs by themselves and then the set as a whole.  I hope that it stays popular with the girls for awhile.

IMG_2145