Freezer Meals – Crock Pot style

My schedule is changing next week and in preparation I decided to try a series of freezer meals.

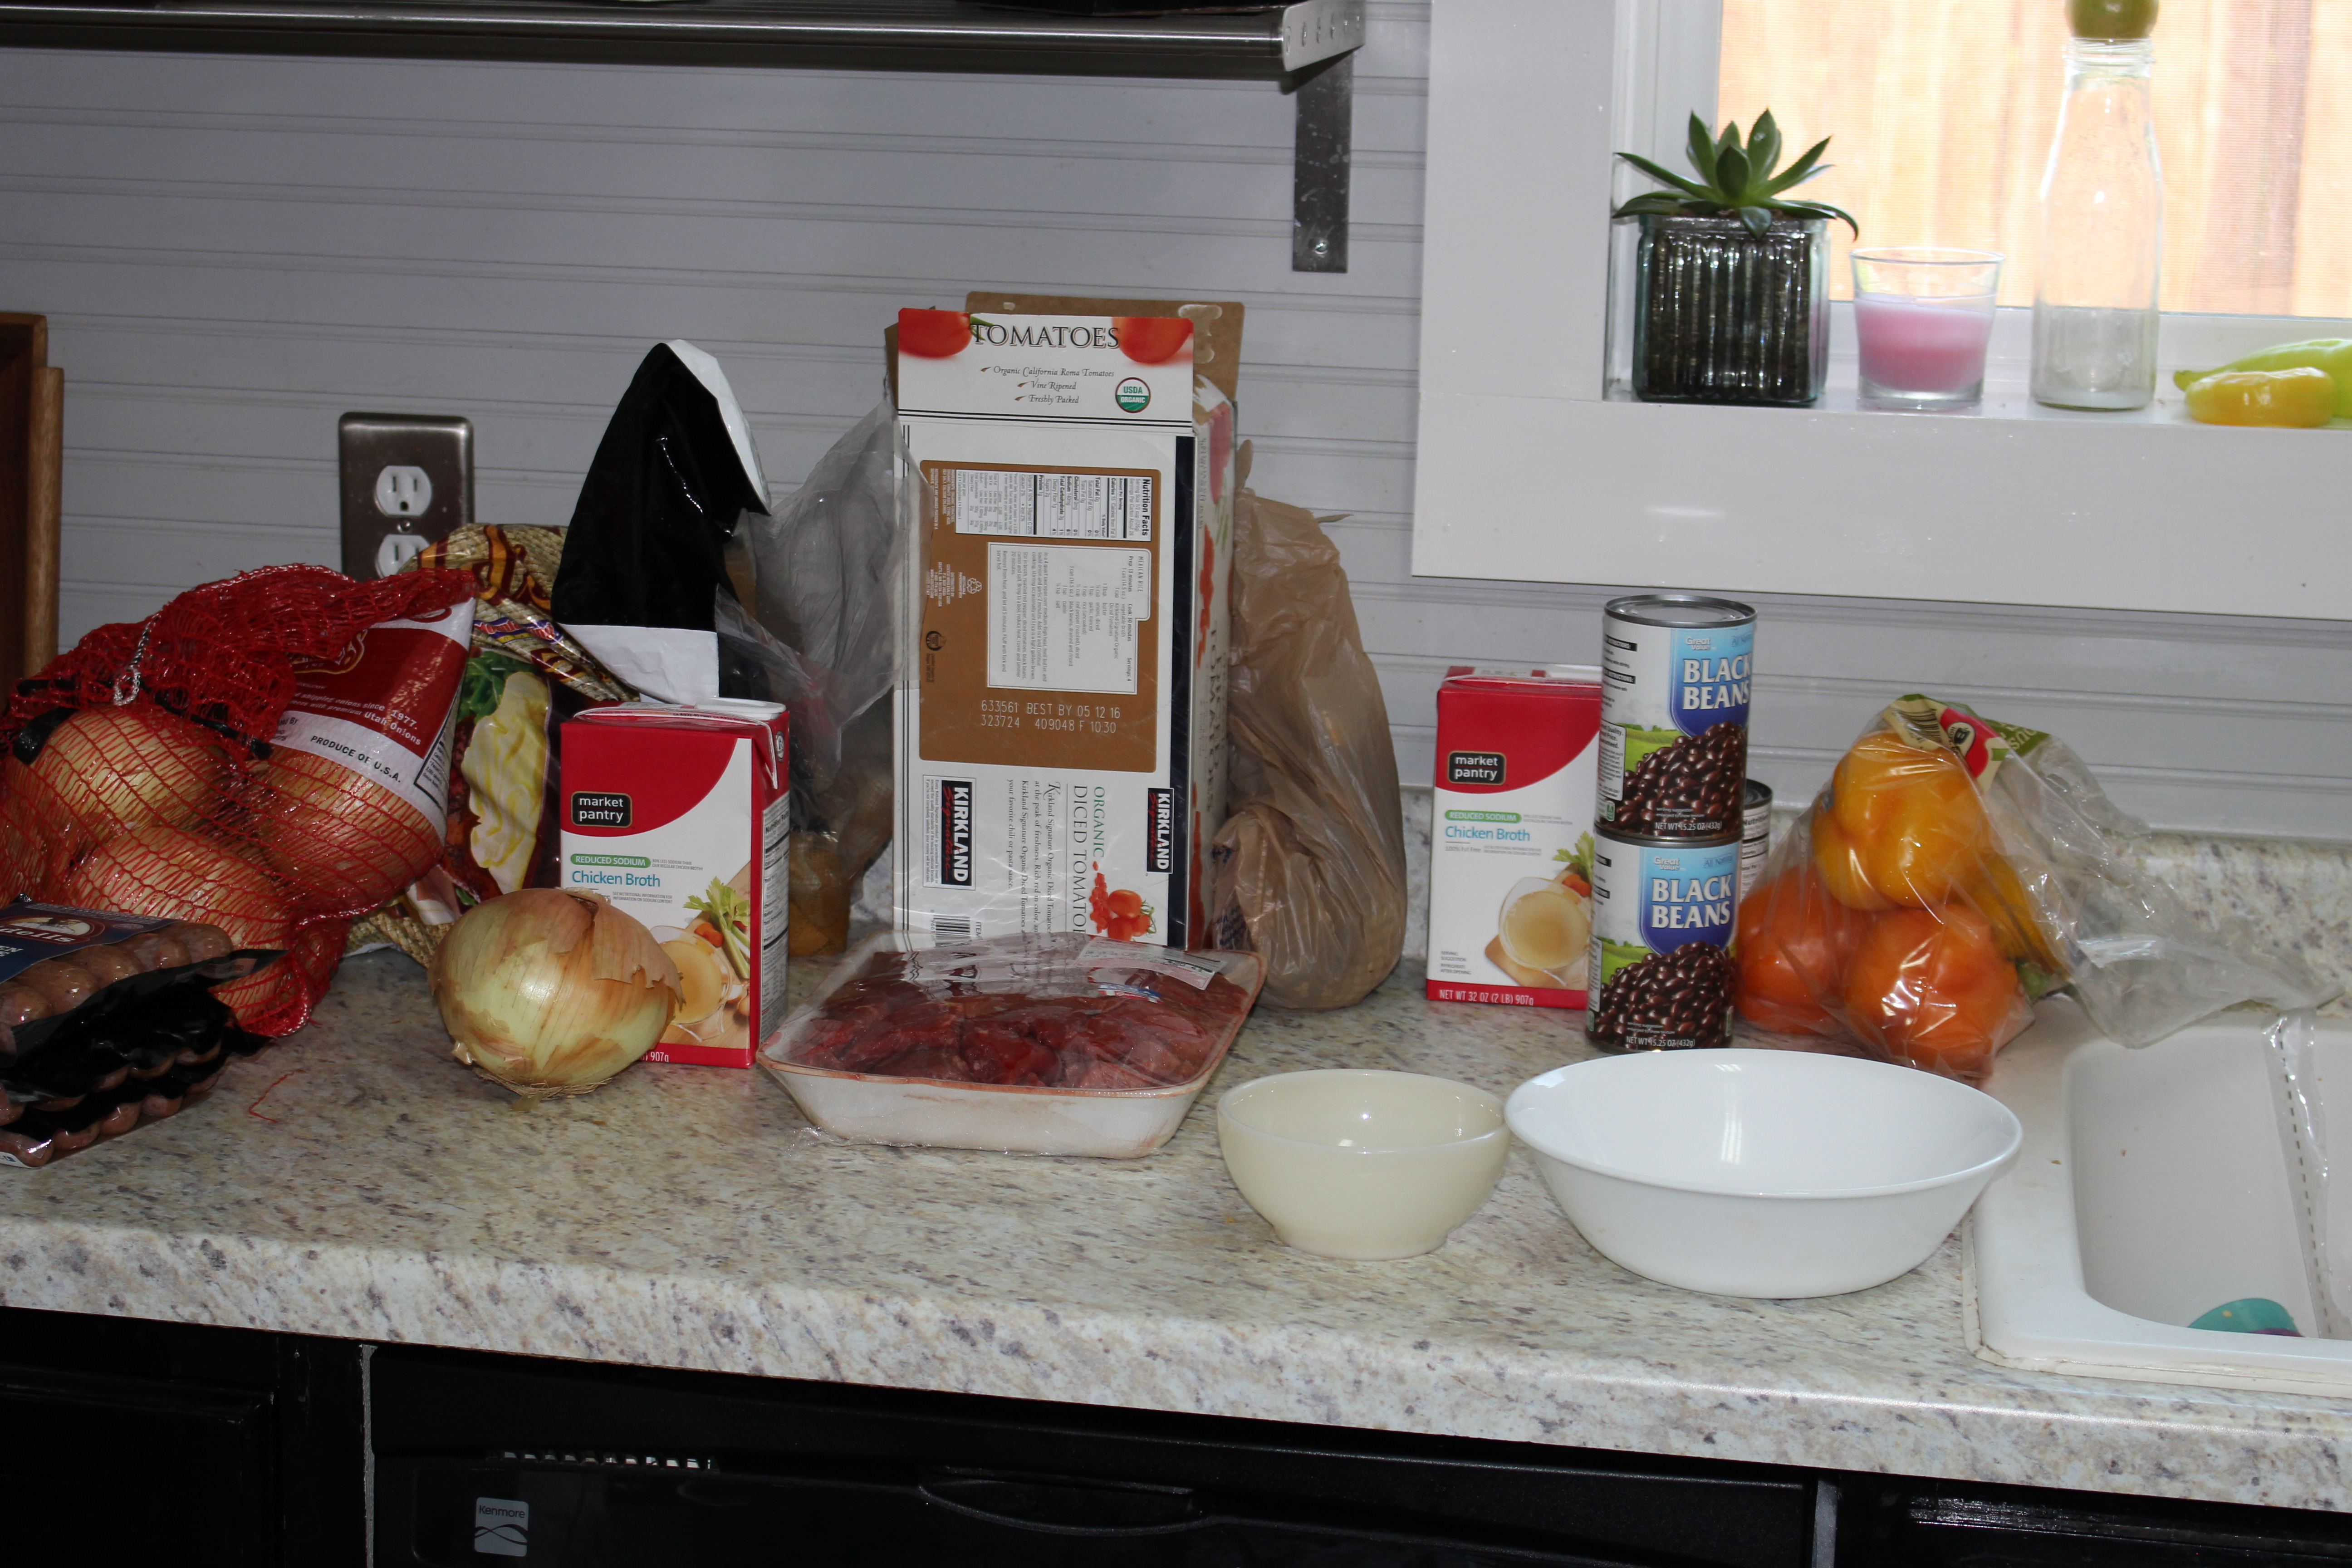
I devoted the evening before to finding recipes that my family and I would be interested in eating over the next few weeks and then compiled my shopping list.  I spent 30 (!!!!!) minutes in Costco getting the items that I needed -spending less than $200.  I only walked away with a few things in my cart that weren’t on the original list.  My recipes came from two different locations – http://www.5dollardinners.com/ and The New Creative Crock Pot Cookbook by Robin Taylor Swatt.  As I was choosing recipes – I picked those based on what I could alter to use similar ingredients and also to adjust based on my families taste.

This is as close a list as I can get – I made 2 each of the recipes.  So my list below is set up to support making 2 freezers bags of each recipe.

  • 25 to 30 chicken breast
  • 10 –  15 oz cans of diced tomatoes or 5 of the 28 oz cans and split each one in 2
  • 6 cans – 15 oz can of corn
  • roughly 20 lbs of potatoes
  • 1 bag onions
  • 12 red, yellow or orange peppers
  • 12 apples
  • sausage – I purchased a chicken apple sausage, based on recipe on http://www.5dollardinners.com/
  • 1 large bottle of BBQ sauce
  • 8 pork chops
  • 1 package stew meat
  • 2 boxes chicken broth
  • 4 cans of beans – your choice.  I used black beans
  • 2 cans coconut milk

IMG_2576

From the Crock Pot Cookbook

Chicken Provencal – adjusted for us……..Add into a Freezer bag

  • 3 chicken breasts
  • 1 pepper – diced
  • 1 onion – sliced
  • 1 can diced tomatoes
  • 1 can corn
  • salt pepper, garlic powder, Italian seasoning = 1 tsp each

Curried Apple Chickens – adjusted for us…….Add into a freezer bags

  • 3 chicken breasts
  • 3 apples – peeled and sliced
  • 1 onion – diced
  • curry, salt, pepper = 1 tsp each
  • 1/4 cup brown sugar

Sunday Dinner Roast Beef – adjusted for us…….Add into a freezer bags

  • 1lb of the stew meat
  • 3 potatoes – chopped or sliced
  • 1 can corn
  • 1 onion – diced
  • 1 cup water
  • 3 tsp Italian seasoning
  • salt, pepper = 1 tsp each

Italian Stew/Roast – adjusted for us…….Add into a freezer bags

  • 1lb of the stew meat
  • 3 potatoes – chopped or sliced
  • 1 pepper – diced
  • 1 onion – diced
  • 1 small can of diced tomatoes or half the large can
  • 3 tsp Italian seasoning
  • salt, pepper = 1 tsp each

From www.5dollardinners.com\   (you should check this site out – if you haven’t already – when I was searching for freezer meals, this was the first one that kept popping up)

Freezer meals

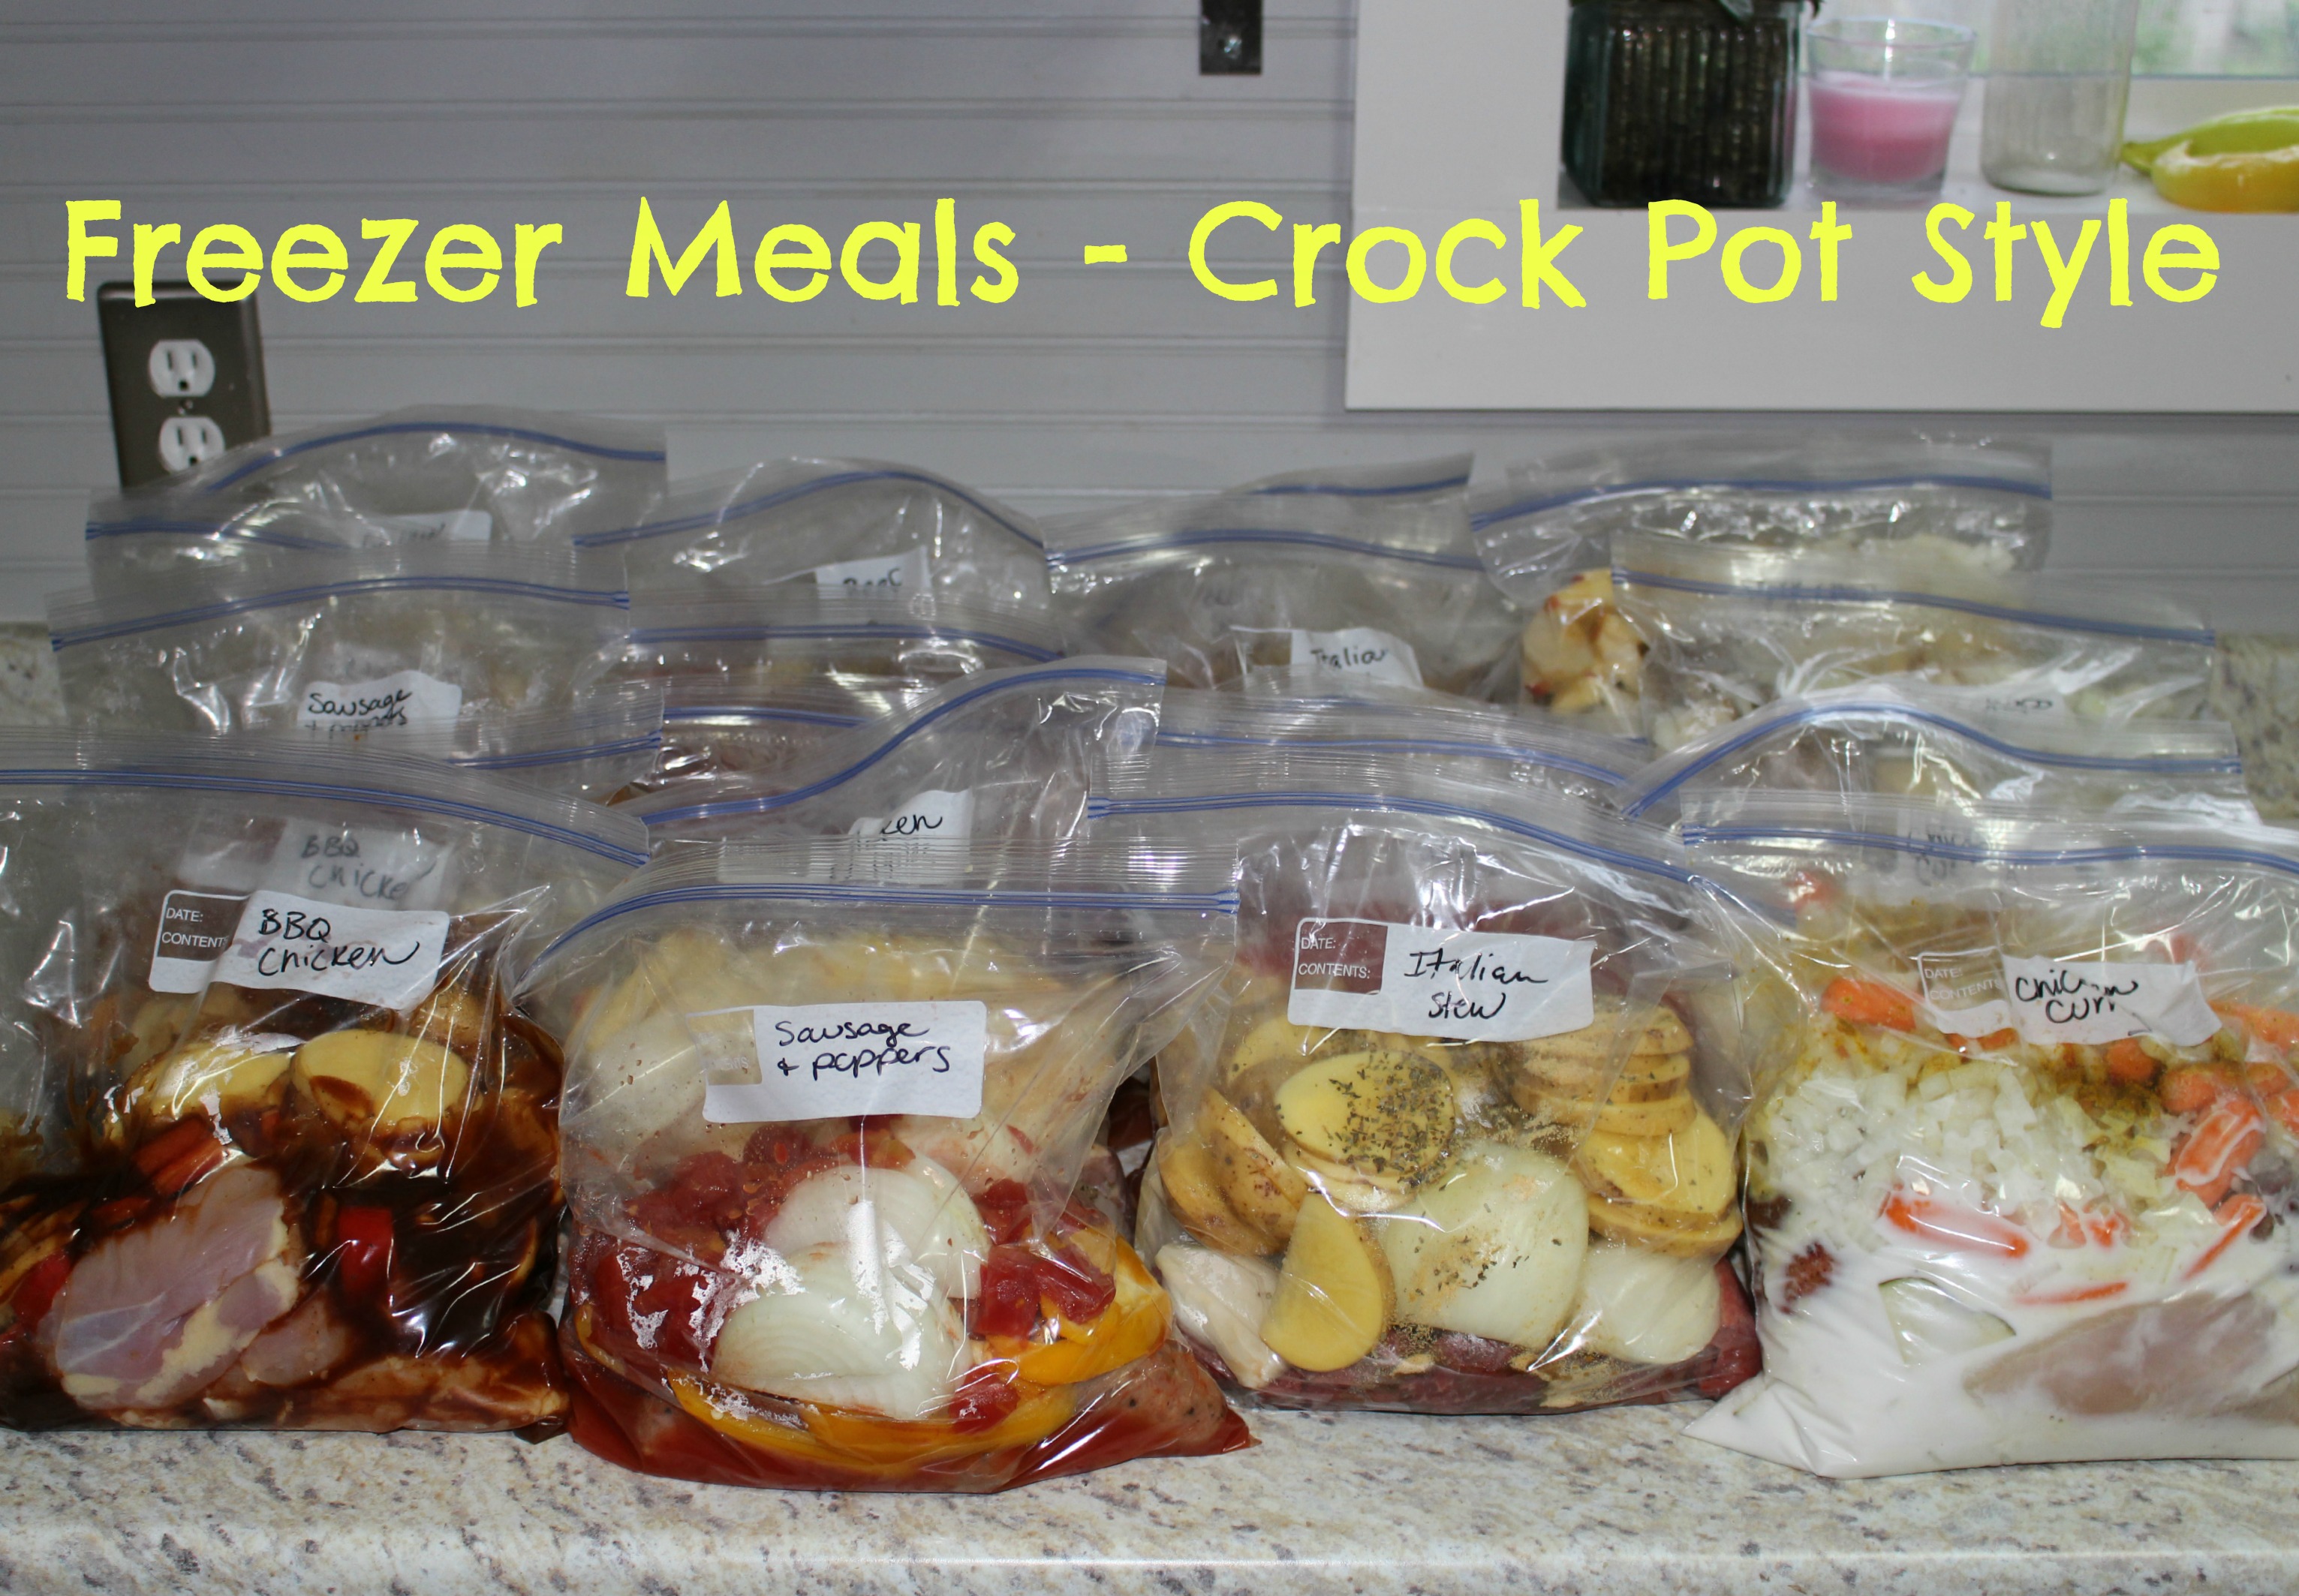
To make each one – dump in your crock pot and cook as listed below:

  • Thawed:  low for 6/8 hours
  • Frozen – kinda thawed:  low for 8 to 10 hours

I am excited to try the new ones and see how the 2 hours in the kitchen and the 1/2 hour of shopping pays off in the long run.  Do any of you guys do freezer meals?  This is new to me, so I want to know how it goes over the course of time.

Transform: Indoor table to Outdoor table

When Dave and I moved into this house, I purchased a pub table for the downstairs…..sadly it got little to no use.  Recently, I decided to try and re-purpose it as an outdoor table.  I did quite a bit of research to find the right way to do the transformation.  The pub table is all fake pressed wood and totally meant for indoor use.  There are so many tutorials out there and each one is a little different in what they think is imperative.  I have the Valspar paint left over from painting (still not put up) but I needed some supplies from our local Lowe’s…..mainly the primer…..and while I was there, I found the Rust-oleum NeverWet…….Can’t wait to see if it works out.

IMG_2342I started with a quick sand to rough up the surface of the fake wood that is the pub table and then put a layer of the Zinsser primer on.

IMG_2319 I put 3 coats of the Valspar exterior paint over the primer (and I actually followed the directions on timing).  The Rust-oleum is a 2-parter, base coat and top coat.  It is a little rough as a top coat, but if it helps repel water, I am all for it.

IMG_2339Yup – can’t wait to have a get together and use this baby.

IMG_2340PARTY AT MY HOUSE.

Cookies for the Neighbors

Just a few things about my neighborhood…..it’s the best.  We live on a quiet street, with amazing people and I feel comfortable letting the girls have the run of the neighborhood.  Jules has been wanting to do something for our neighbors for awhile…..so last week I got organized and we made cookies.   I found an Oatmeal Cookie recipe that I wanted to try, The Pioneer Woman’s Brown Sugar Oatmeal Cookies.  They turned out great.

IMG_1961IMG_1962We wrote a note for each neighbor and the whole family signed them.

IMG_1964I have a plethora of metal tins…..so Jules and I picked a few out and used those to package our cookies and notes.

IMG_1966Final step was for Jules and Jane to deliver to each of our neighbors.  The girls were beyond excited to have some to give our great neighbors.

IMG_1968

Removal of the microwave

When Dave and I moved into this house, I was on the look out for a nice upgrade to the counter microwave we had at the time.  On Craigslist I found a brand new (never used) over the range microwave.  It was $60…..what?!  That microwave was an amazing add to our kitchen.  See below:

DSCN0640A little bit ago – I noticed that there was something white dripping from the roof of the interior of the microwave.  I cleaned the inside and didn’t think anything of it…..until it happened again…..and then a HOLE appeared in the plastic looking through to the mechanics of the microwave.  ECK.

Decision made.  That thing is coming down.  I decided to take it down completely instead of replacing it, because it was really low.  There was not a lot of room for our larger pots on the back burners.  I liked the over the range convience of the microwave we had……but I am thinking of adding a built-in under our middle pass-thru.

DSCN1527I know I (Dave) could tie into the electricity in the back of the shelf on the left side of this picture with a new microwave…..but I am getting ahead of myself and giving Dave tons of work.  Dave and I already have a plan for re-doing the middle area of this kitchen.  We want to make this an island instead of keeping it as a pass thru.  That plan is at least 1 year away and at most 5 years.

For the time being I am keeping an older microwave on our counter.  It will do for now.

IMG_1989I am excited to pick out a new range hood.  Maybe this?  It will be very basic and something that mounts under our cabinets as I do not want to lose the cabinet space. One thing that annoys me to no end is the mis-matched levels on the cabinets on this side of the kitchen.  When we lifted the cabinets we left these alone….because if I would have moved those to the ceiling as well…..there would be no way to use the over the range microwave (too tall).  With the microwave down….eck.  Check back later to see if I can convince Dave to move these as well.

IMG_1984As I live with a smaller microwave on the other side of our kitchen…I am sure that I will be moving a few things around (the black toaster oven???!!!) to make the placement a bit more functional.