Earlier this month I was thinking that Jules’ room was done…..when I was taking the pics of the room – I realized I have some work to do with the interior wall. (and the mirrors that I have above her desk – but that’s different)
As a reminder – Jules and Jane shared a room until Christmas time. Click here.
 I purchased a few things from Ikea for her room.
https://thehappycrazyhouse.com/2013/11/07/denver-purchases/
Above the square mirrors, I had a series of adhesive circle mirrors in a flowy pattern. Unfortunately, the adhesive did not work well with the texture on the wall Jules’ room. I have another set to put up, but I am looking for another adhesive. I have used the Command picture tabs in the past…and think that is going to be my go-to.

 Kermit is from Dave’s childhood and has been passed down to Jules.
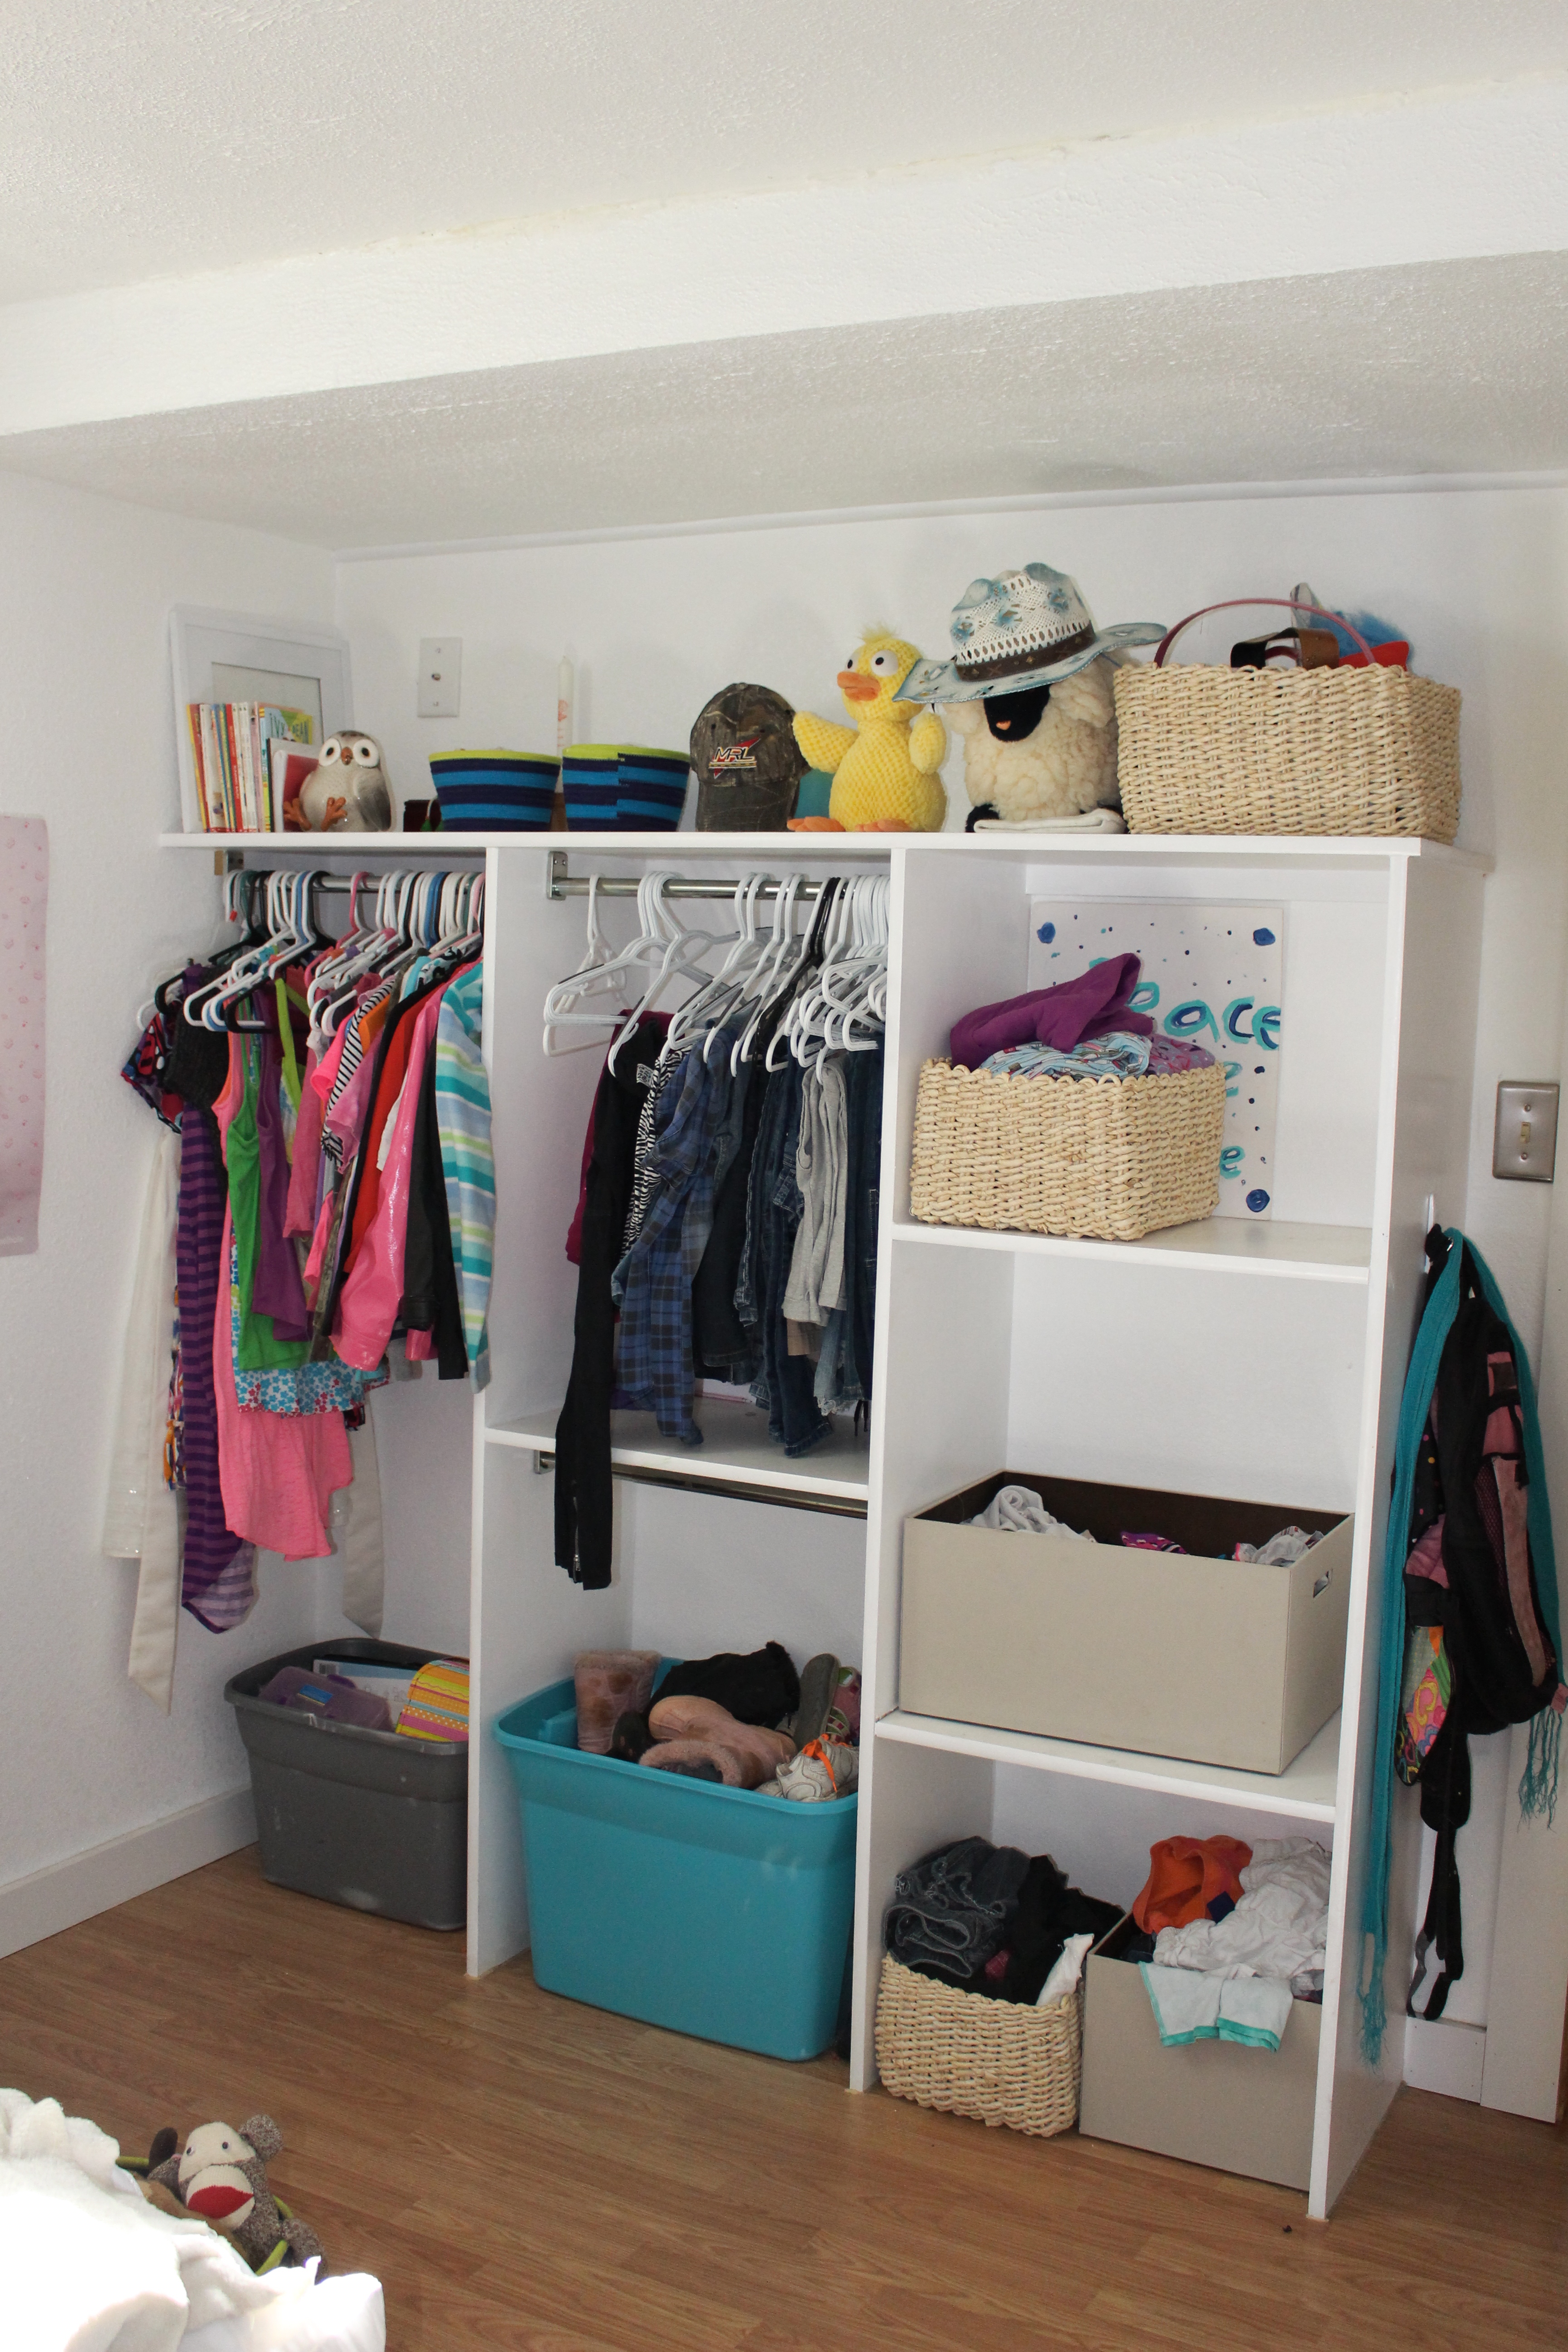
 Straight across from the bed is the closet.
 We are working on putting clothes away. She is getting pretty good – when I remind her 🙂
Here is where I need to really re-think. Dave hung the family pictures up for Jules and then I came along with the other 2….and just hung them up…..YEAH…I just hung them up without thinking it through. I am so p-o’d at myself. The drywall is brand new in that room and I just willy nilly put 2 holes in it. Remember my pile of pictures to go through from the office? Click here.
 I have a few pictures from my arty art past that are going to be added to this wall to finish it out.
So….Thoughts?
 https://thehappycrazyhouse.com/house-tour/dining-room/
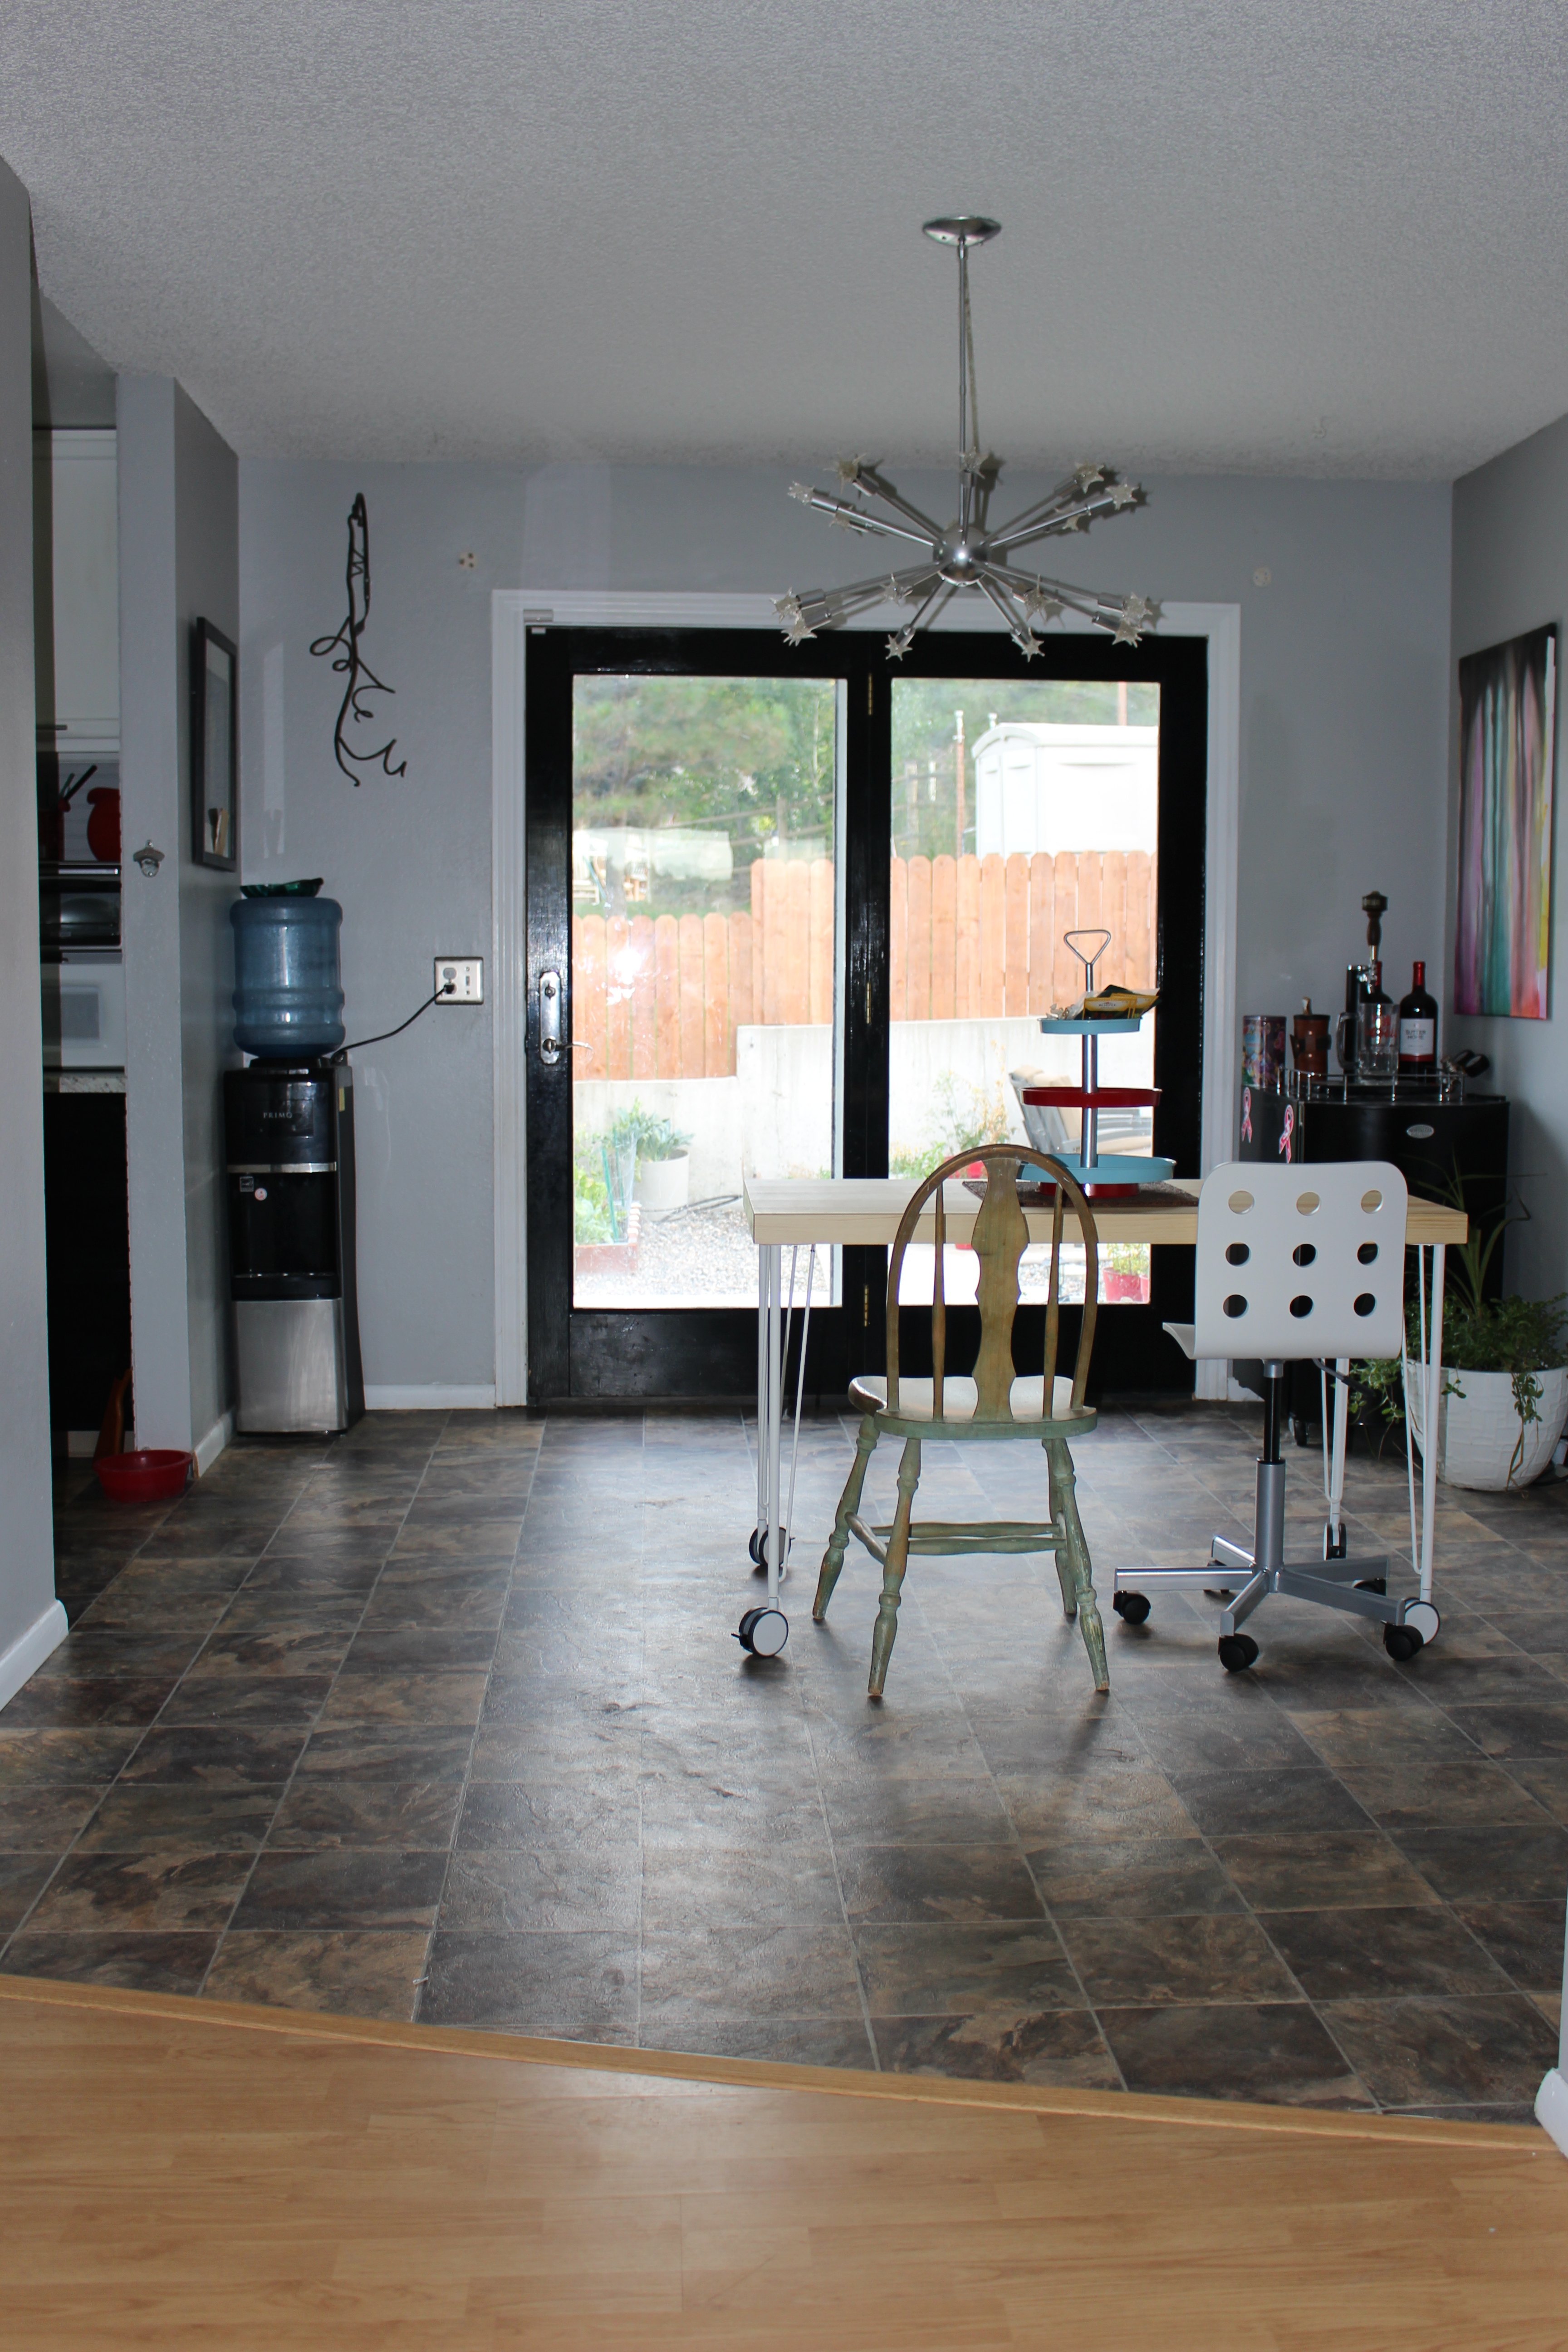 https://thehappycrazyhouse.com/house-tour/kitchen/
 Whew…..it’s just a few pictures….but it represents so much work. I’ve got some more pics to post of the remaining rooms and I’ll get those up in the next few weeks.