Weekend Randomness on our Projects

Dave and I were able to put our mark on a few things this weekend.  Nothing all the way completed but progress made, at least.

1.  Spray paint extravaganza.  I went a little crazy with the spray paint.

thehappycrazyhouse_spray_paintI started with little pumpkins…..

IMG_2870and then I decided to update a piece from my bedroom

DSCN1290see that mirror on the wall…..well – I took it down and did this……

IMG_2867and then this…..

IMG_2868it’s a sickness, I know.  I cannot leave anything alone.  Poor Dave, he never knows when things will be moved, changed, or gone.

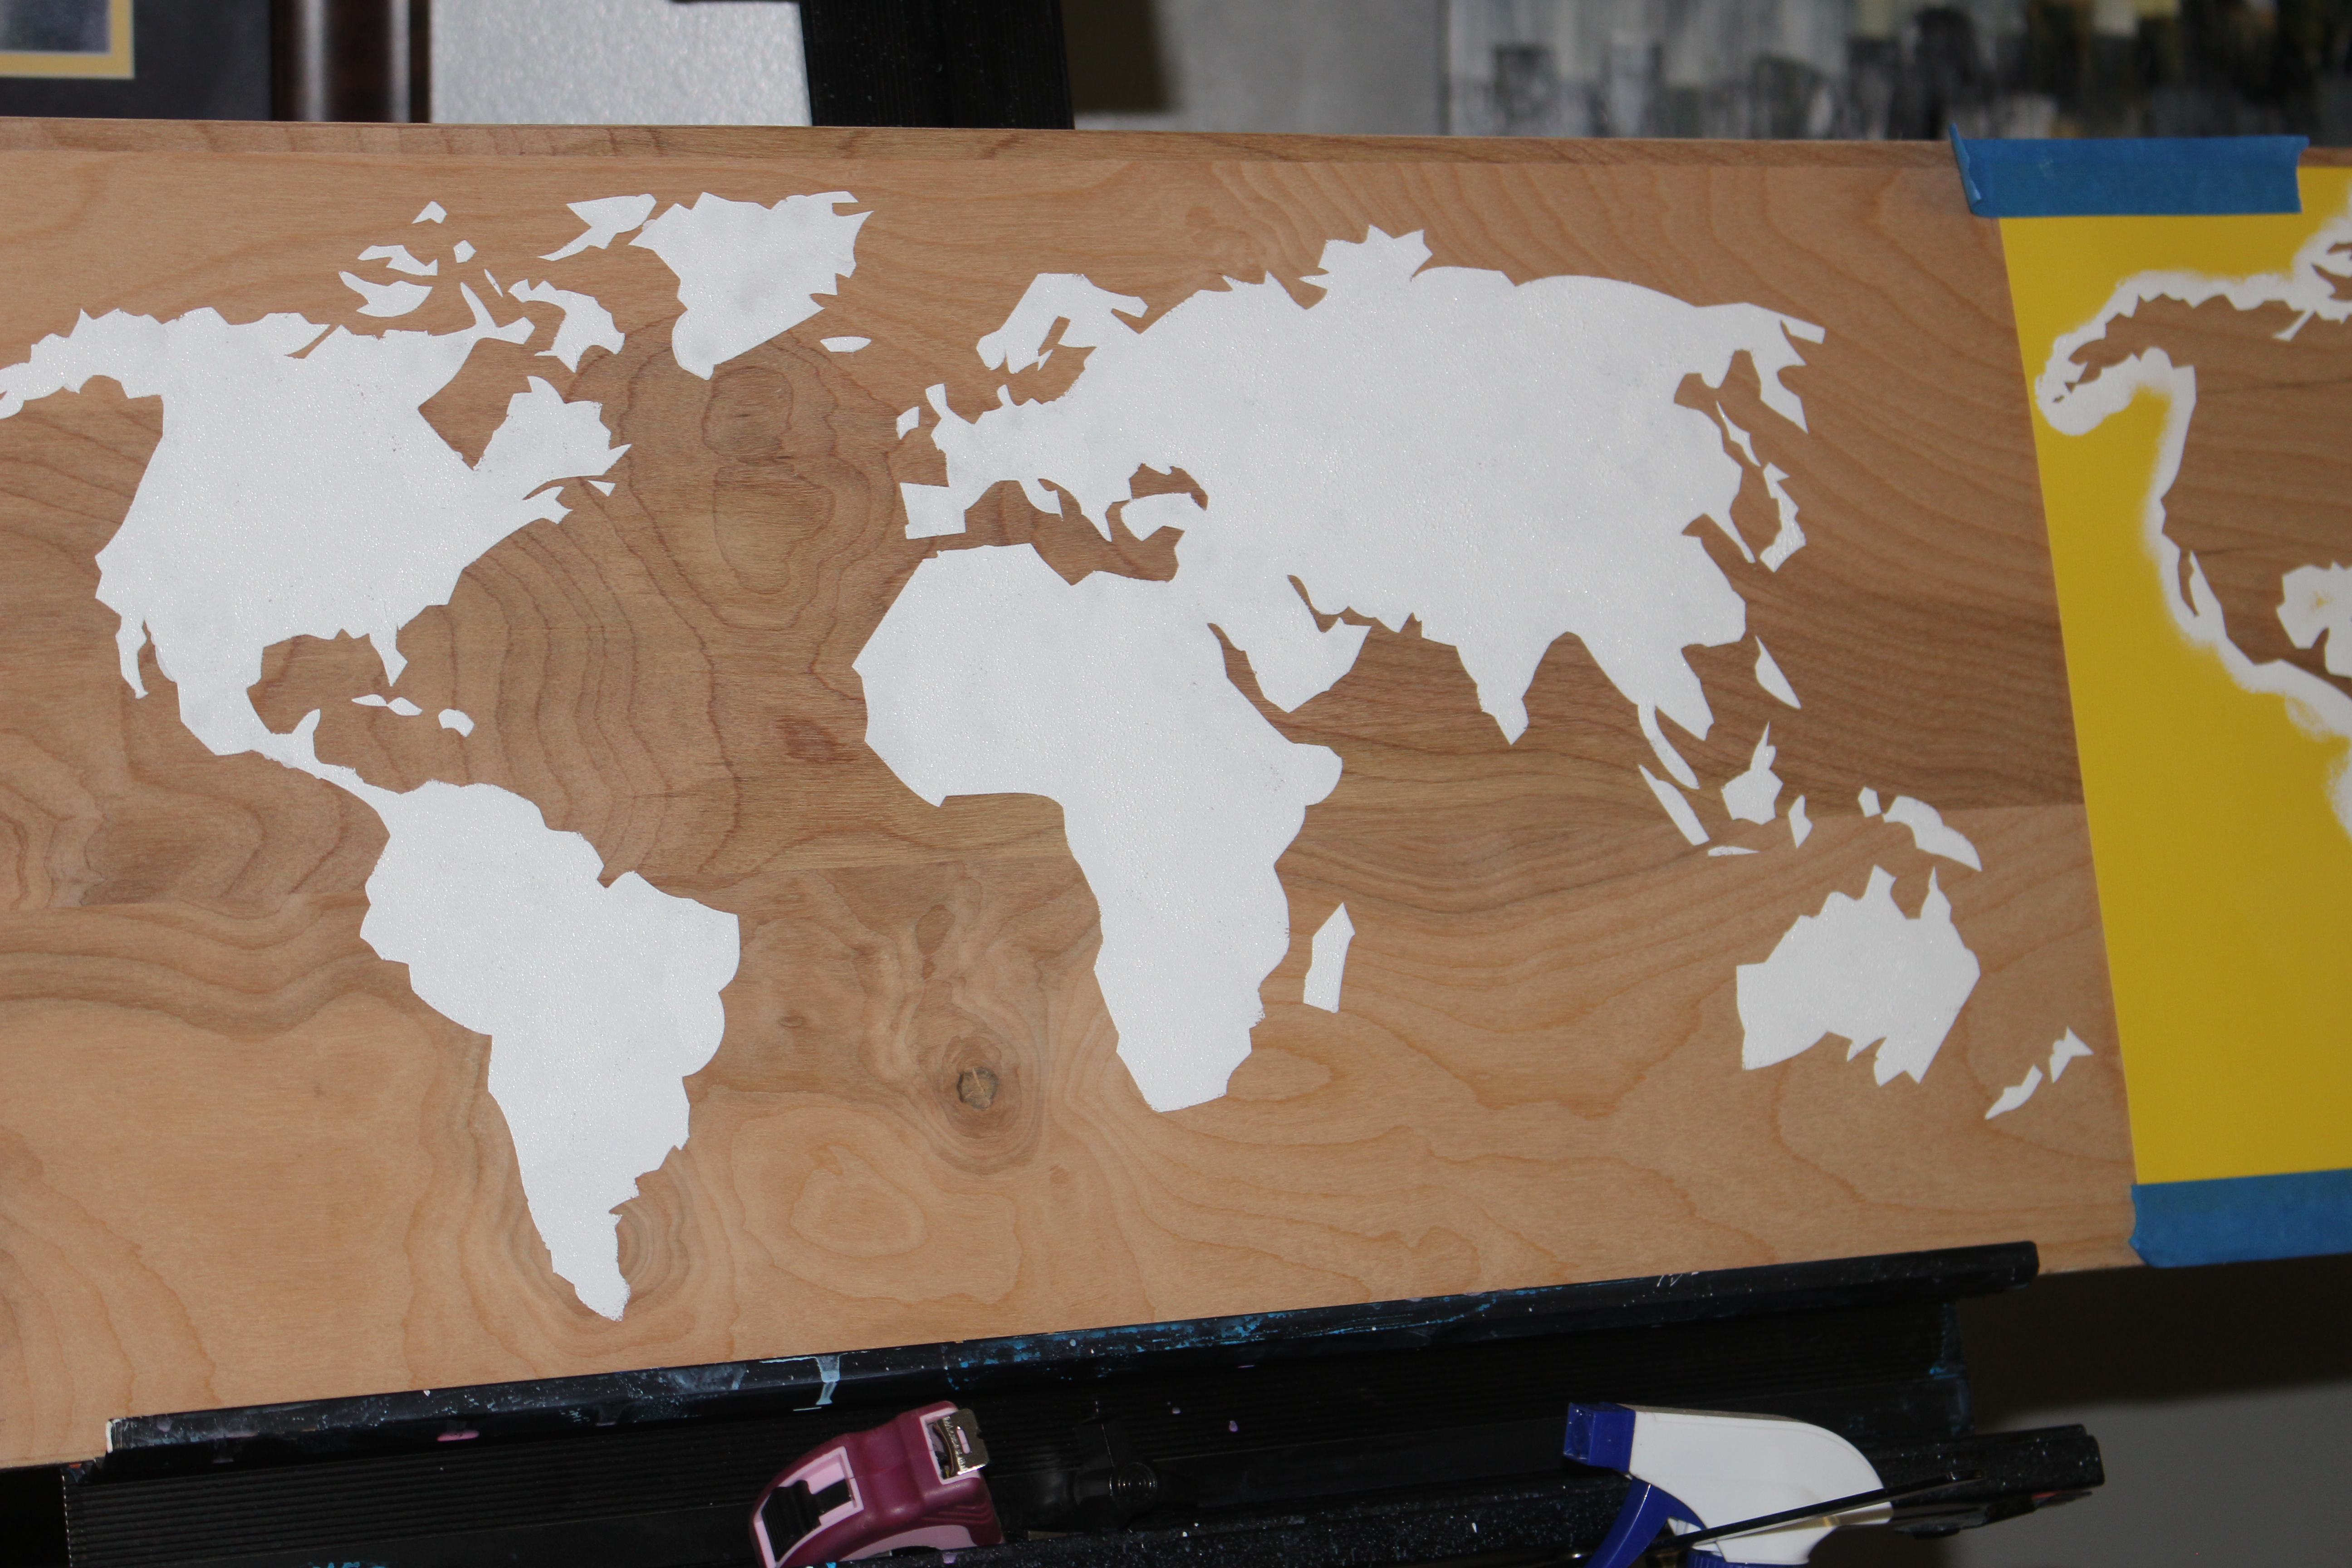
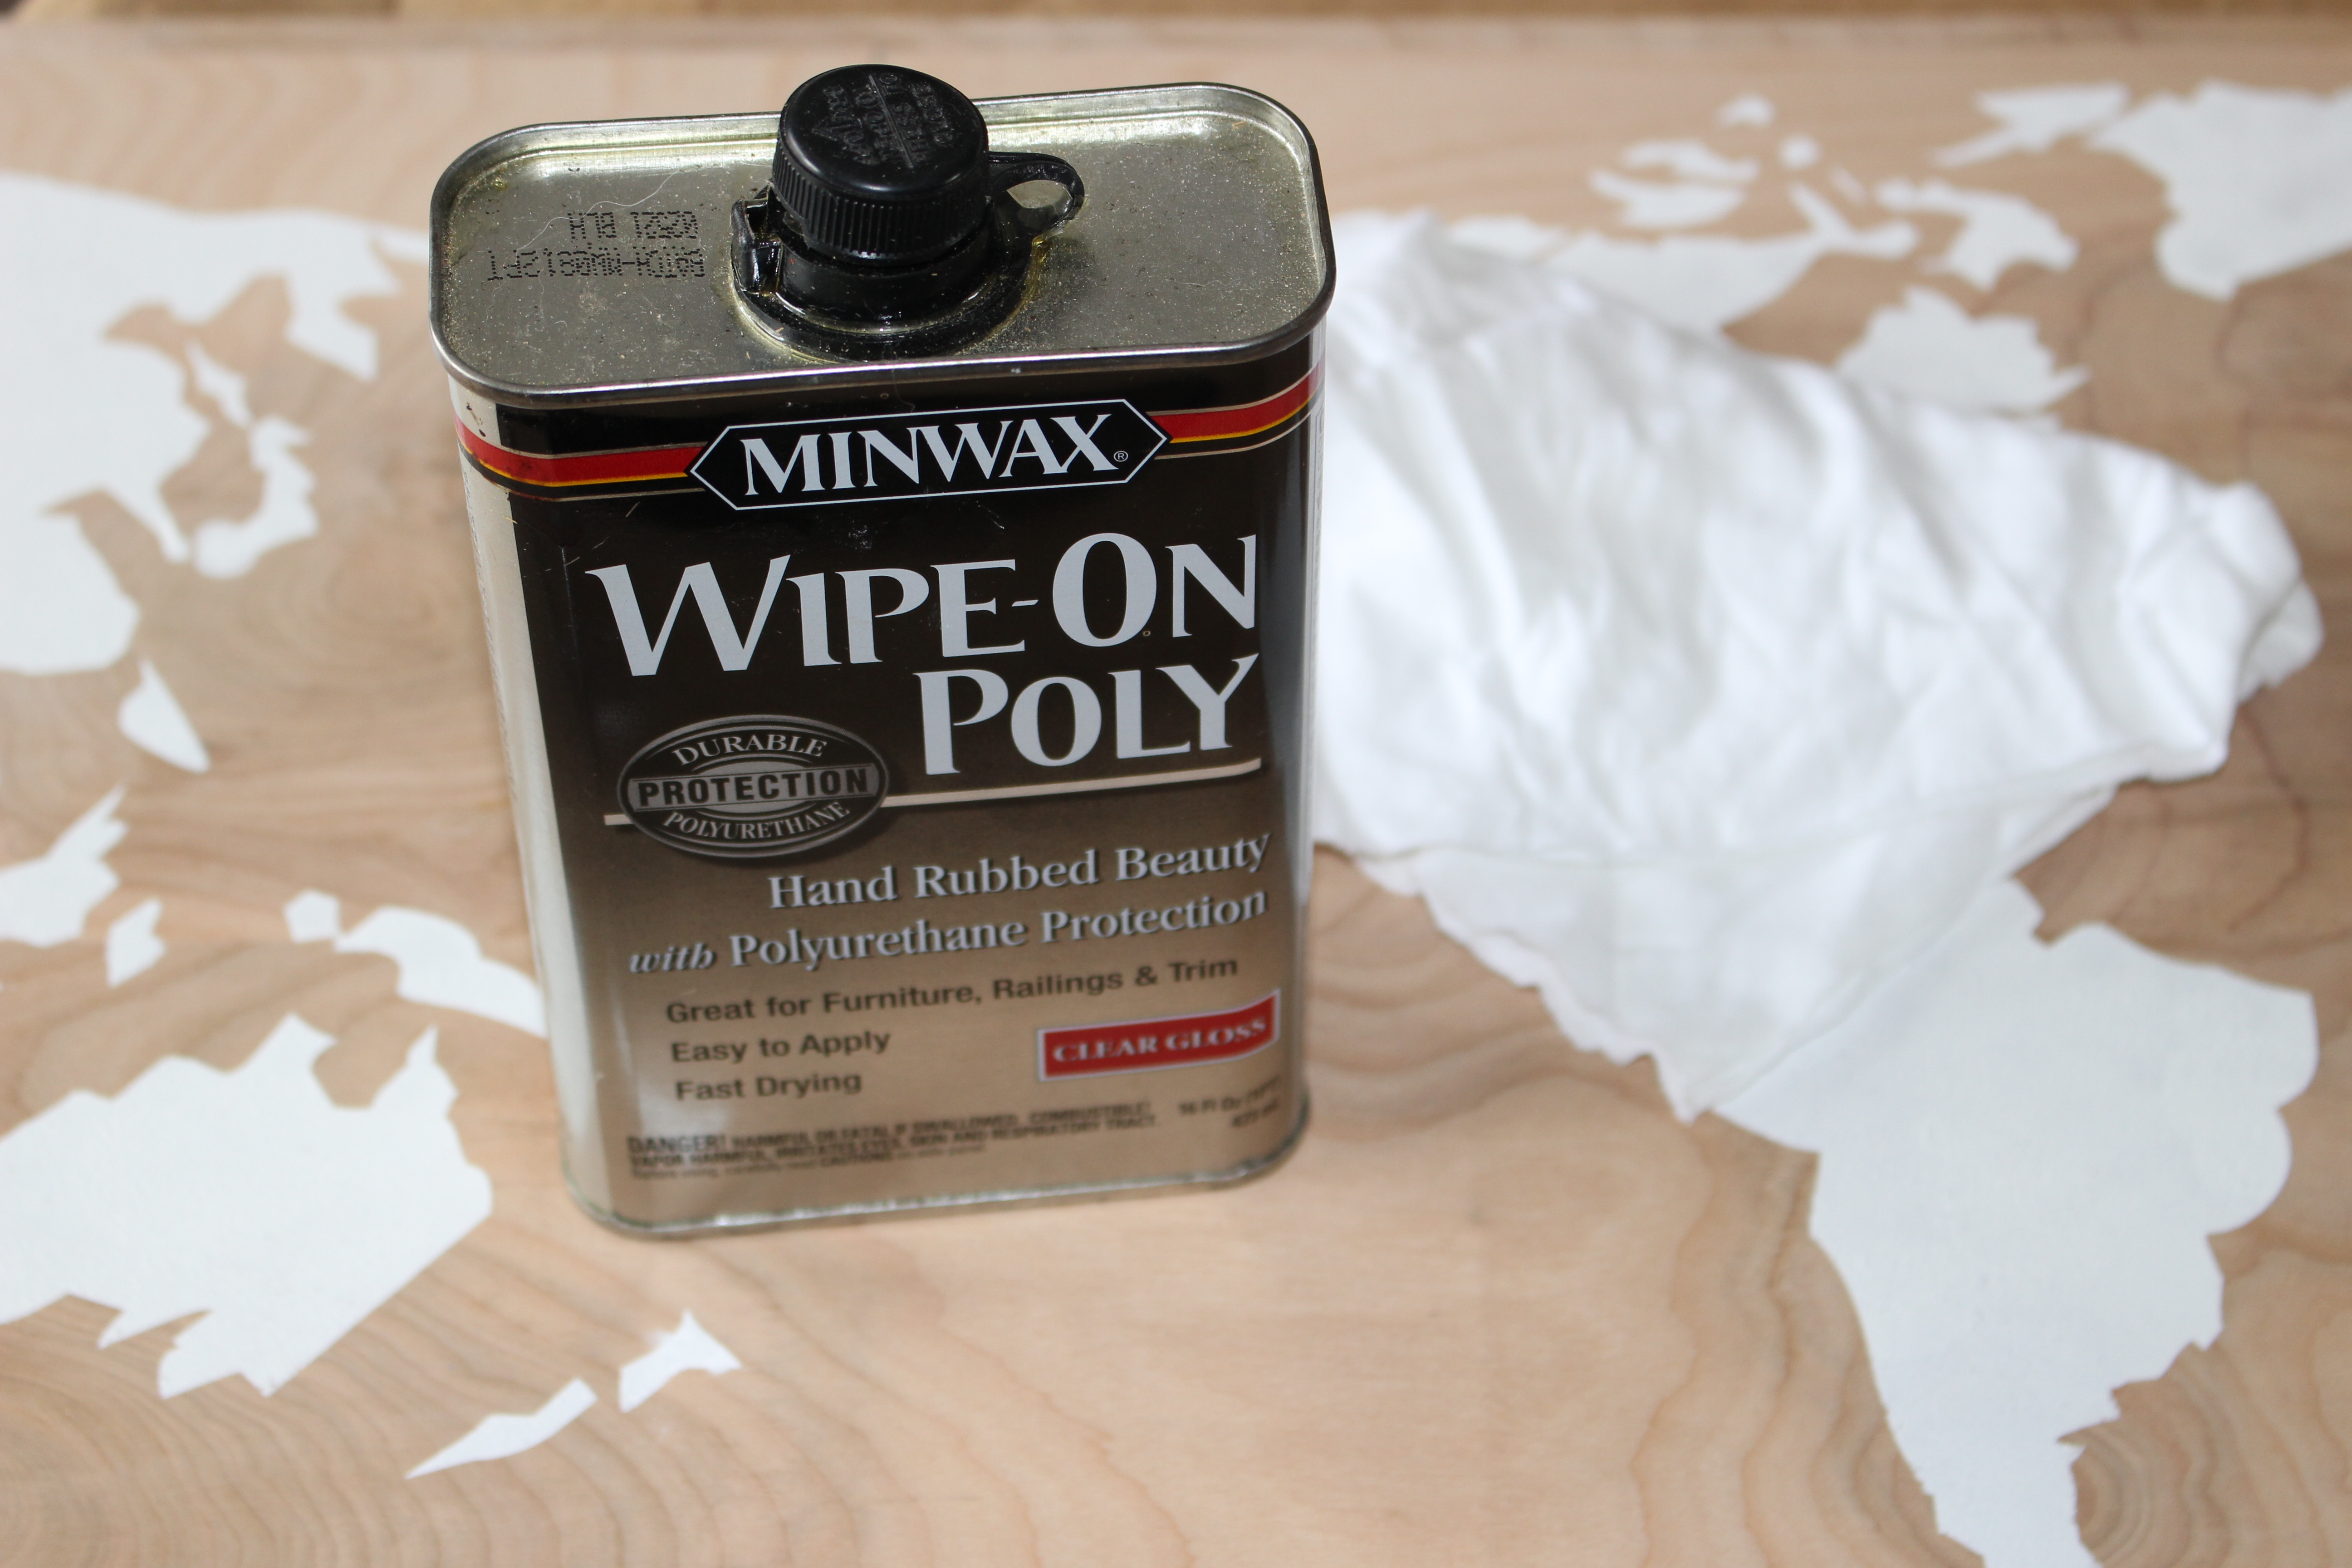
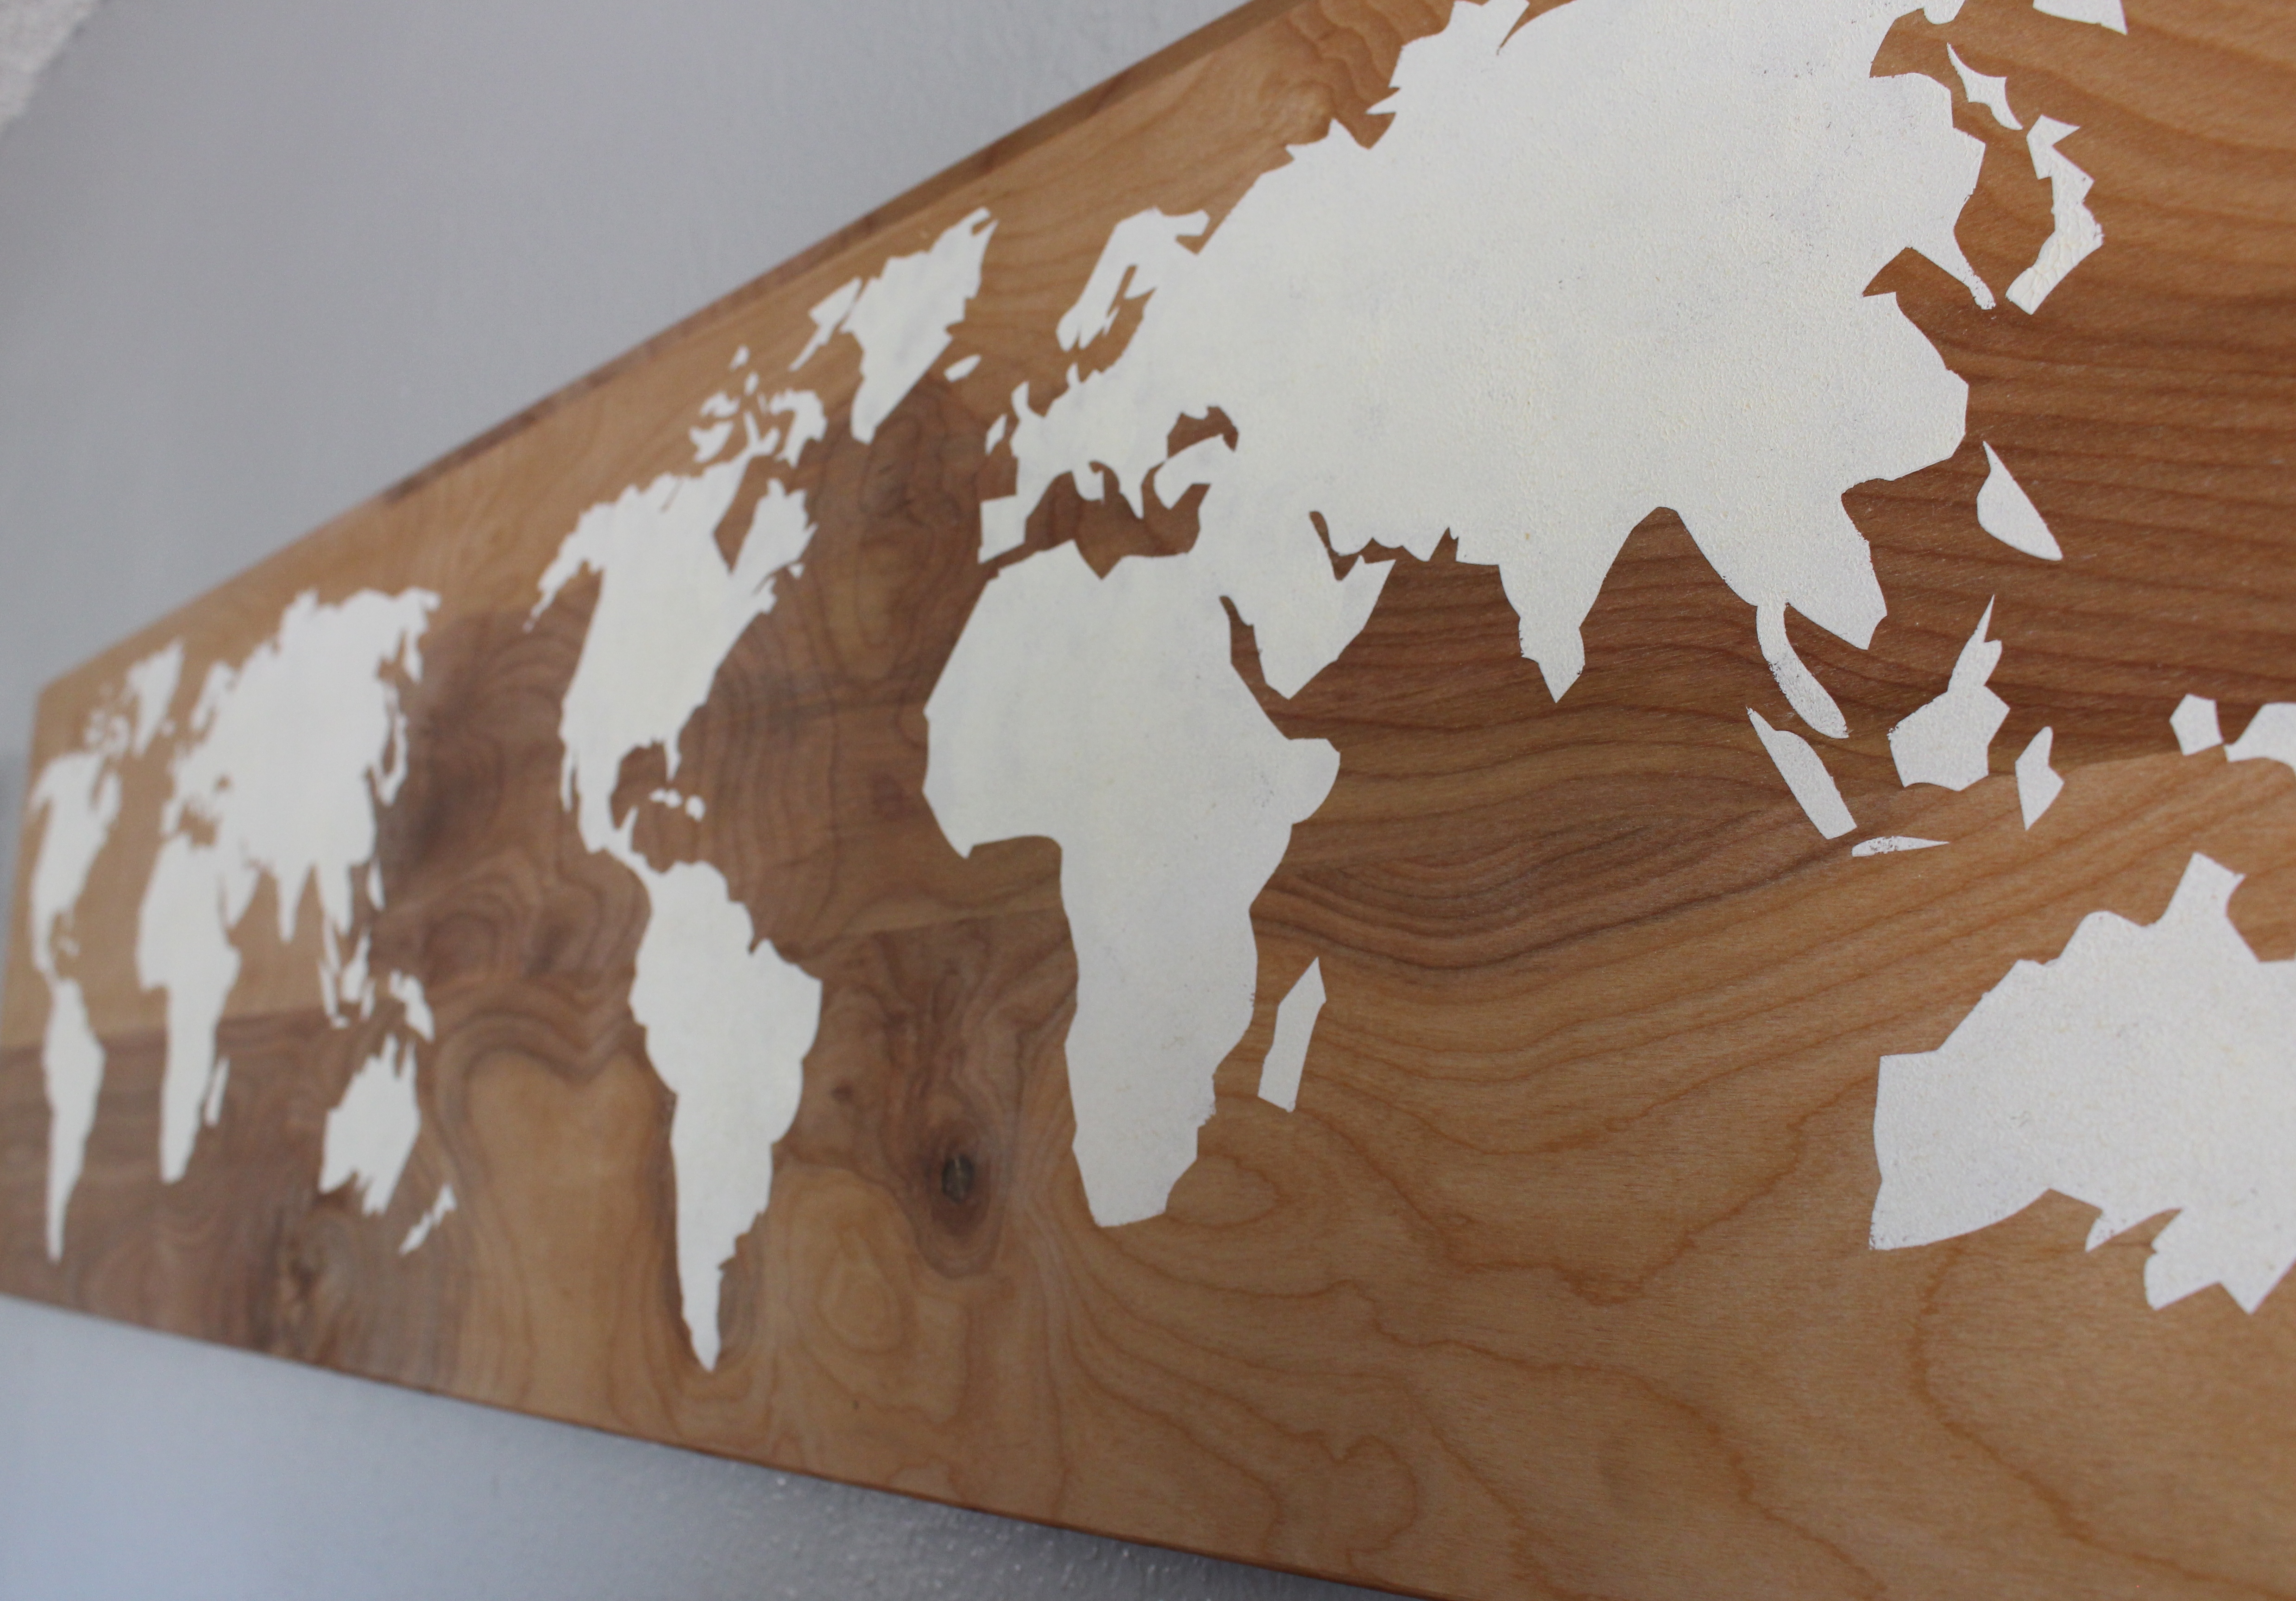
This is one of the things that isn’t done yet.

Dave also helped me put up an Ikea storage unit to help corral my art supplies.  (Ikea Hemnes shoe storage)

IMG_2858Can you see the coffee can that I spray painted?  That happened….and the knobs…the knobs got sprayed as well. 

My craft area is in the office and at times this room can get out of control.  A few months ago I really went through this room and cleaned it up.  When I put this Ikea cabinet in, I took advantage of the opportunity to do some more decluttering.  (I started in this post and have been working on it room by room)

decluttermake it a party and hopefully it won’t hurt so bad!

2.  Dave lifted our shed.  Last weekend I put a coat of paint on it and that spurred Dave into getting some cement blocks under it.

IMG_2872As you can see…it is level but not done.  We need to build a ramp and put up a barrier to keep small animals and KIDS away from underneath.  Dave did a great job getting the supports under and I am so happy to cross that part off our list.

3.  and then there is the demo in the master bathroom

IMG_2812So I guess this means that I had better get my plans finalized.  AHHH!

Here is my jumping off point.

Bathroom Ideas


Although, I am thinking of these for the wall from tileshop.com.  They look amazing, No?

Busy weekend and lots more to do.

How to update a closet in an afternoon

OR
How to update a room in an afternoon….if your closet doors have been removed as ours are. Jane’s closet was looking pretty dismal in comparison to the rest of the room so I decided to kick it up a notch.
Before:
the happy crazy house girl closetI removed everything from the closet and prepped the walls for paint…..this includes- spackle, sand paper and painters tape.

I am using paint that I already had on hand….both for the wall color and the trim. is anyone noticing that I never painted the trim in the closet???  let’s pretend that never happened…..it’s fixed now 🙂

Wall:  Behr Premuim Plus in Carolina Coast

Trim:  Valspar white

In the before picture you can see that the dresser needs some love. Jane liked to scale the front of it, so it is also missing knobs.

I also prepped the dresser for paint……this includes- wood putty, sand paper and painters tape. HA!!  I used the same paint, Valspar White (from the trim), on the dresser.

Also – a new set a knobs is in order.  These unfinished wood knobs came from Walmart.  I am using Krylon ColorMaster in Champagne Nouveau, a personal favorite, with a Krylon clear coat to top it off.

With some contact paper to keep it clean looking.  You should have seen me with this…..ridiculous.  All I can say is that this brand is pretty awesome.  I made some serious mistakes and was able to fix it all so that speaks volumes.

A final look

What do you think??

Whittling down The NeverEnding List

Pretty sure that Dave and I are as awesome as Atreyu and Bastian.  We are totally kicking the Lists butt……I am going to totally ignore the fact that a crap load of tile work is in my future……….

As a reminder The NeverEnding List has been haunting me for ages.

Let’s walk through this bad boy

1 and 2 – the master and guest upstairs bathrooms are still on the list and won’t be completed until the weather turns.

Guest Before:

IMG_2066

3.  Jules’ room

Jules After:

IMG_2370

https://thehappycrazyhouse.com/2014/07/28/jules-room-reveal/

4.  Jane’s room

Jane’s After:

IMG_1982

https://thehappycrazyhouse.com/2014/07/14/new-table-for-janes-room/

5.  Doors

Doors After:

DSCN1515

6.  My bedroom

DSCN1300

7.  Back patio

DSCN1664

8.  Playhouse

IMG_2579

9.  Downstairs bathroom – 1/4 of the way done

10.  All the extras…

  • side yard shop – quotes requested (move to 2015 list)
  • front yard garden
  • front gravel parking

IMG_0118

  • garage turned game room – won’t be done until side yard shop is done (move to 2015 list)
  • new cement pad in the front – won’t be done until the garage conversion is done (move to 2015 list)

Now – the rest of the year will be devoted to indoor projects  *cough* tiling the bathrooms *cough*

World Map project – new art

I created a new piece for me, and it is awesome.  If you did not already know, I have a thing for maps.  (As seen Here  and explained Here)  I was looking for a way to put together a world map piece and stumbled upon this etsy ad.  I am really glad that I found it, as it made my piece super easy to do.

IMG_2717

This piece is going above the cabinets that I have in the living room – so I had Dave cut a piece of wood to match the top that we did for the cabinets.  I prepped by sanding and rounding the edges.  I then measured out my placement and started painting.

IMG_2723

I used the same Valspar white that I have on my trim and other accents throughout the house.

IMG_2724

I got my poly on, with a light sanding in between coats.

and Viola………..

IMG_2784

So pretty – IMG_2780

Last thoughts:  ignore the TV (it’s football season!! I gotta have it out here)  and the shadows…it has been overcast the past few days and I didn’t want to wait for pics.

I have a ton of ideas on more map projects, but I will use my projector for those as I will not be able to use the stencil again.  sad face.