Details, Details, Details….putting together a functional back patio

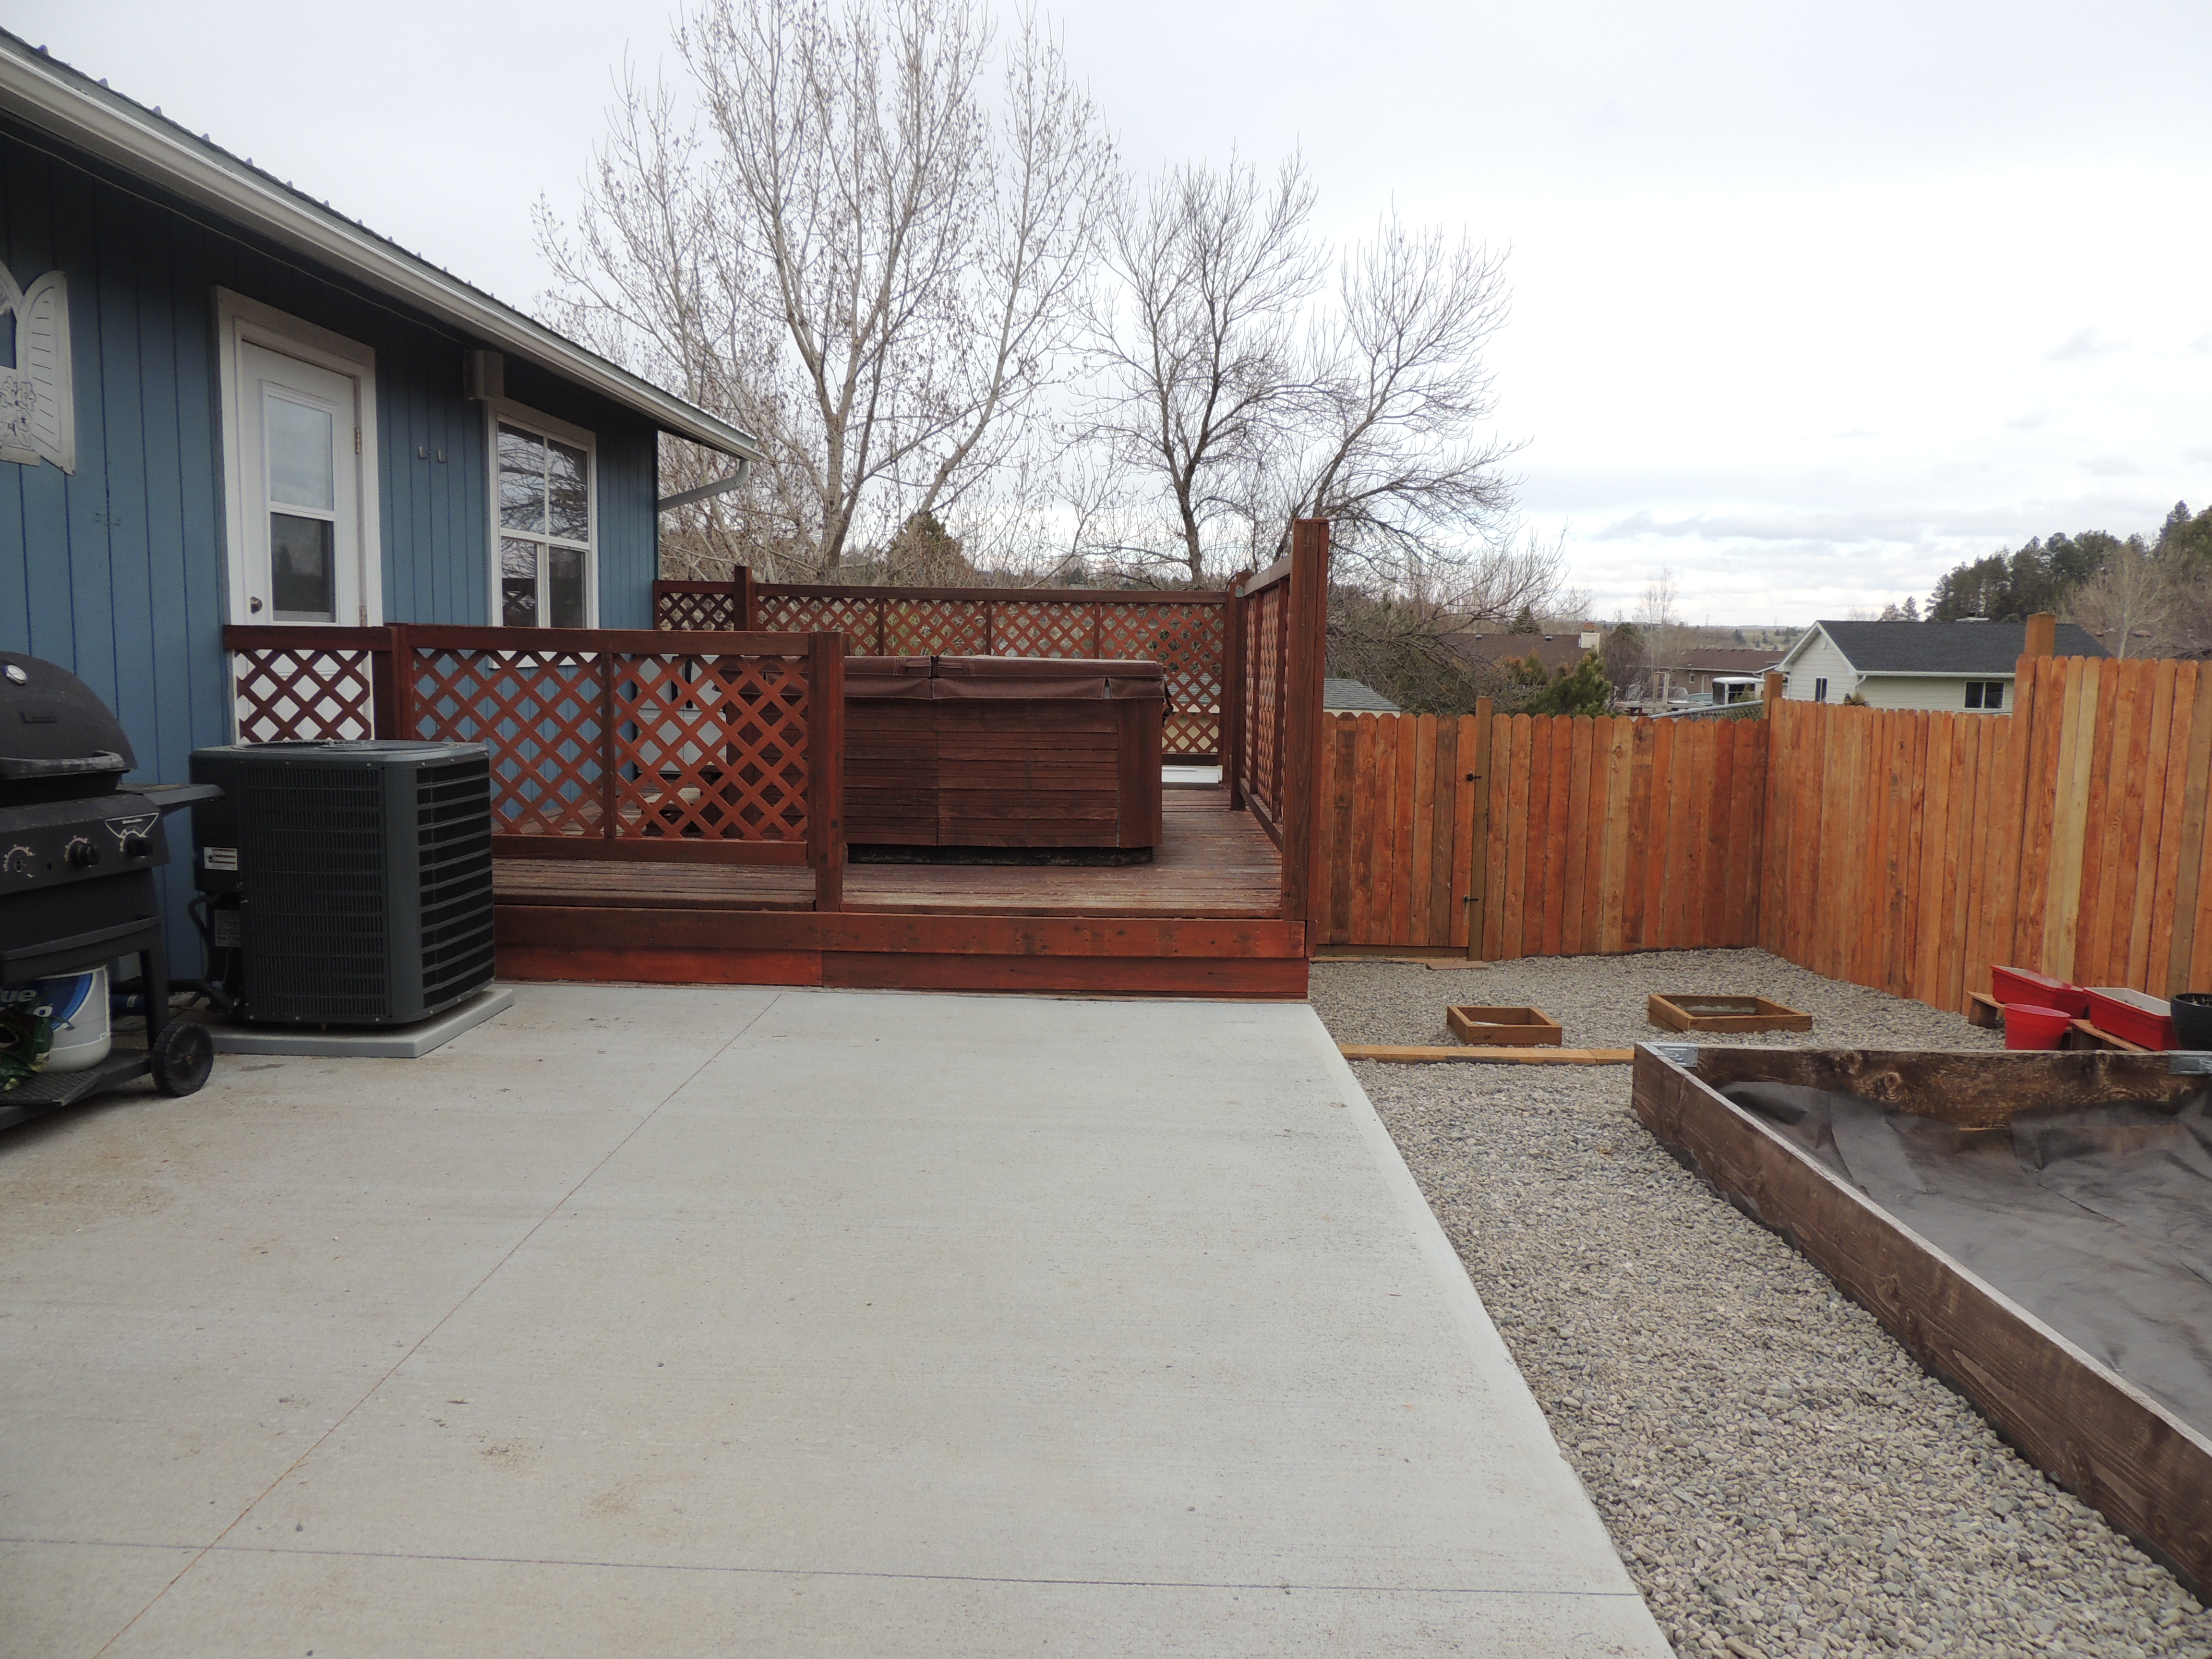
The heavy lifting for the back yard is over and done with…As previously recorded here, here and here.  I have moved on to pulling the details together to make the area functional.

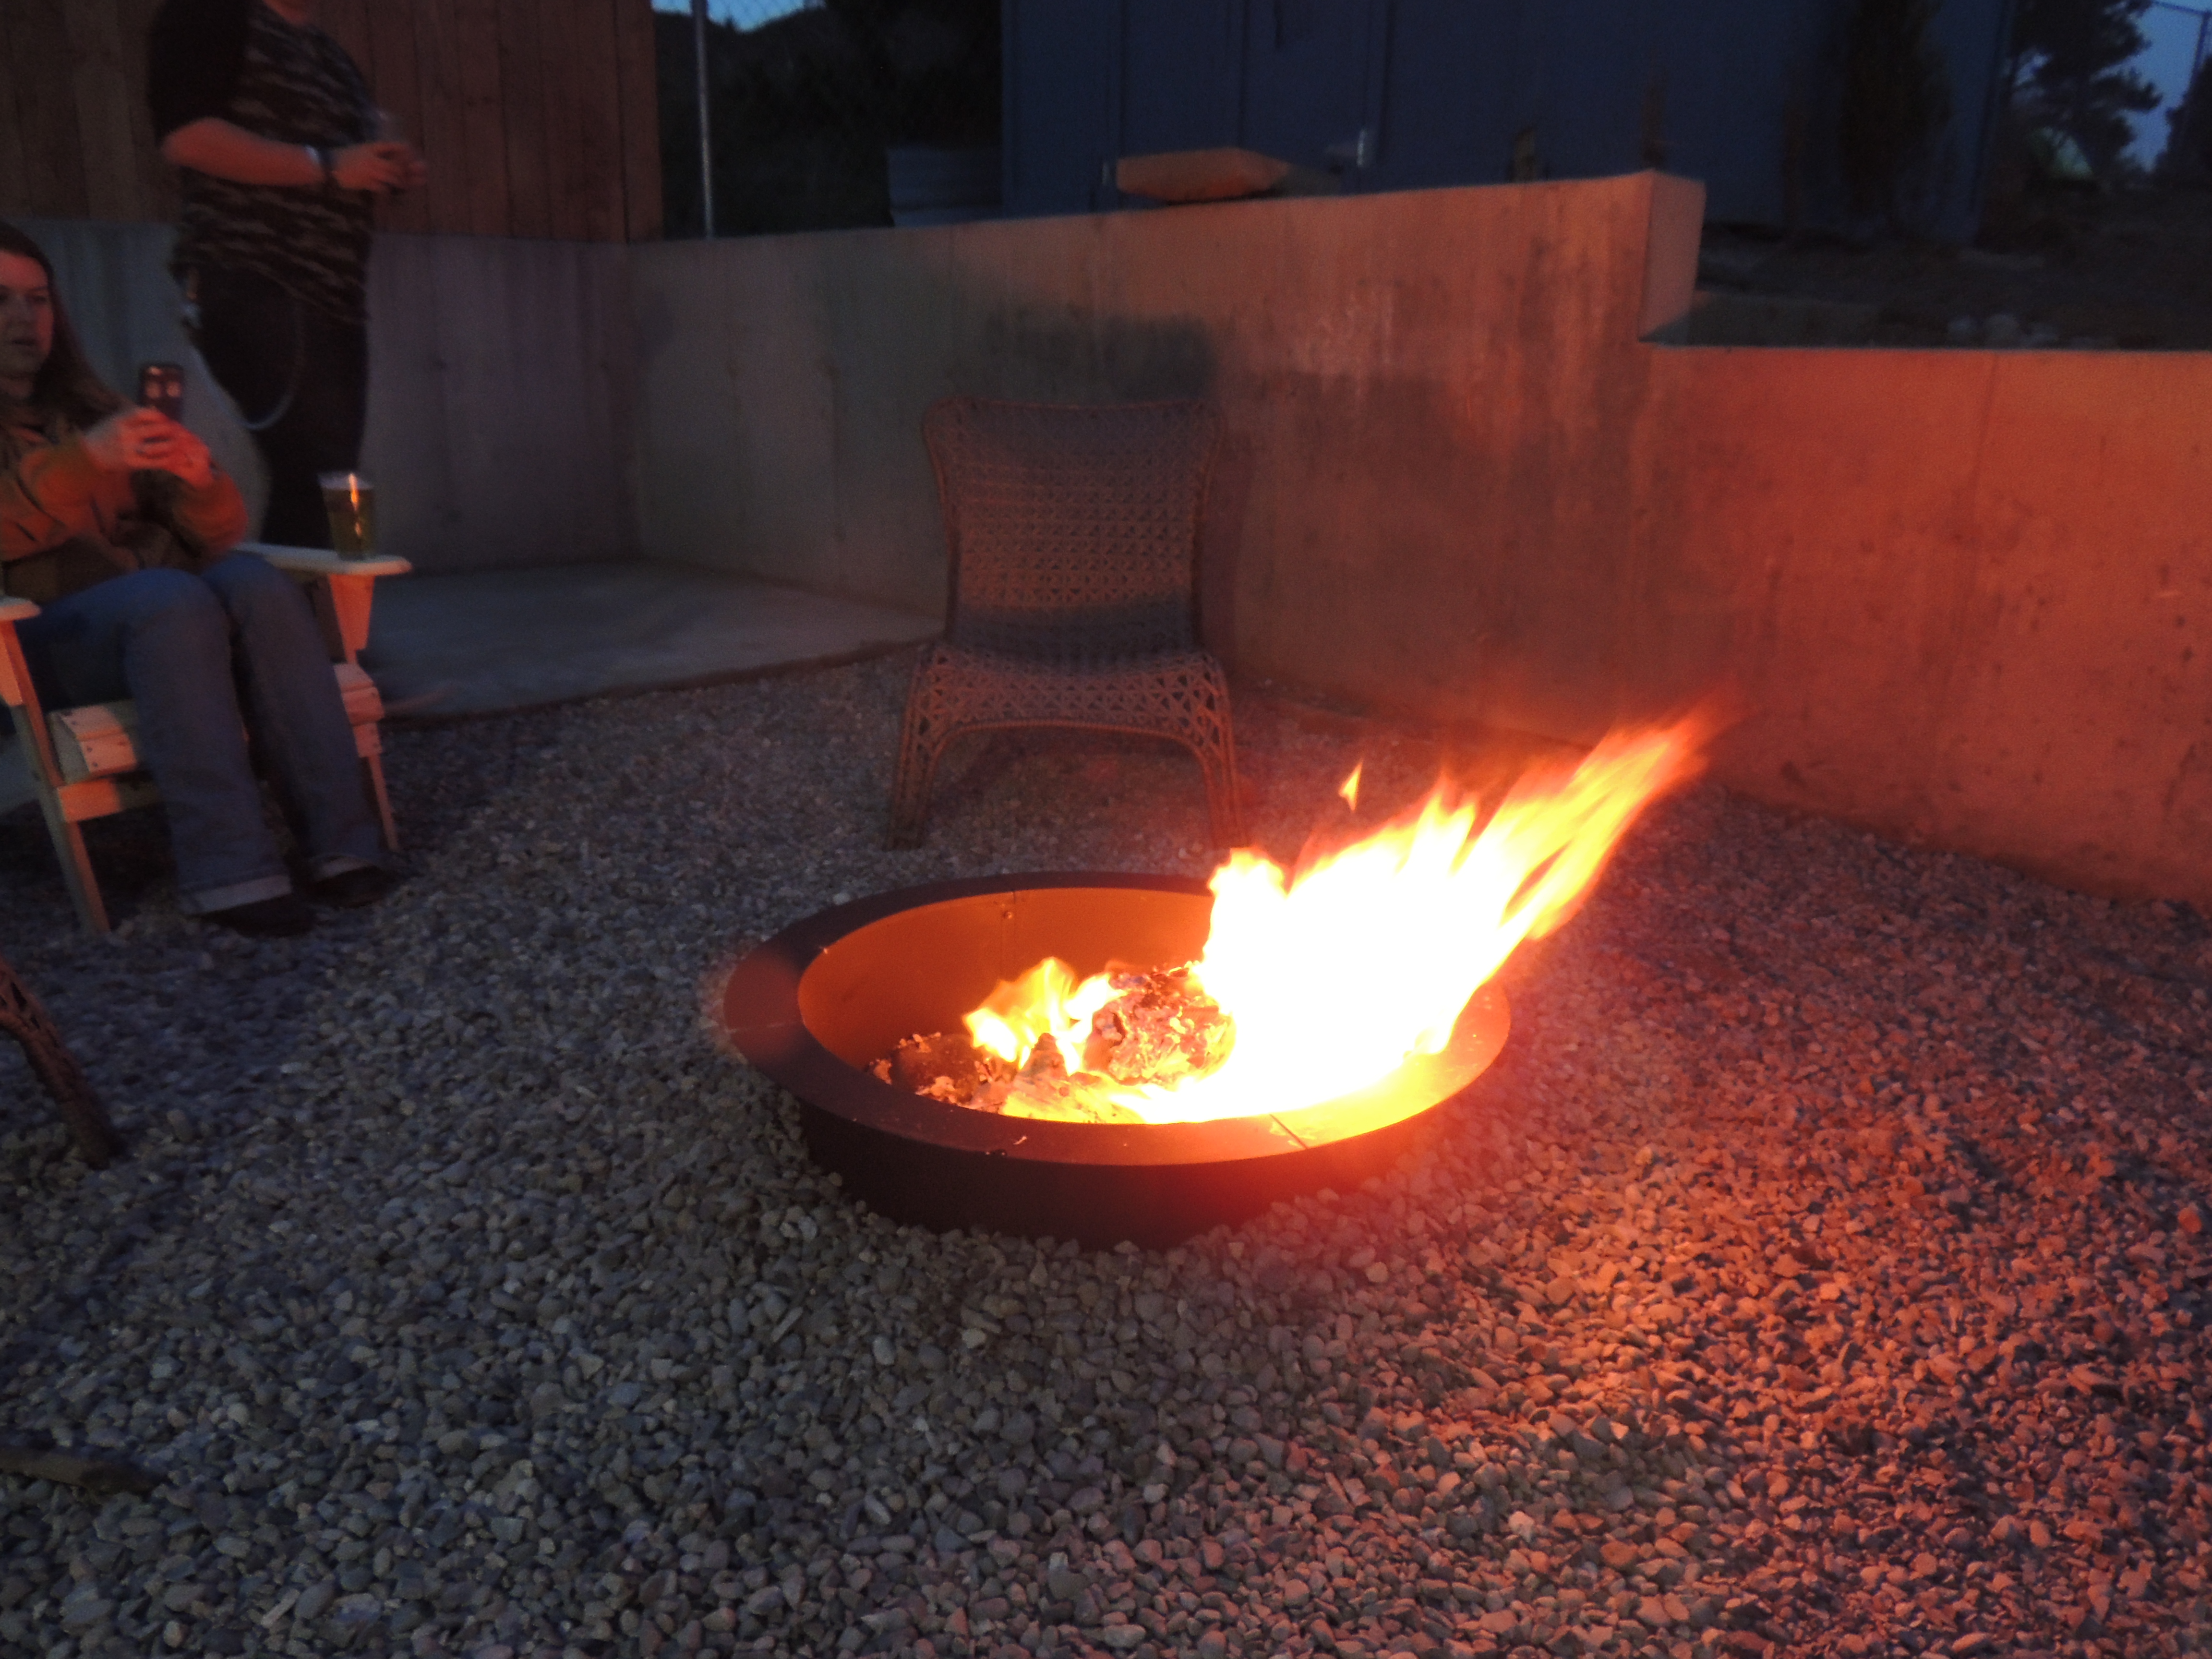
First up – seating for the fire pit.  I found some wonderful low chairs from Lowe’s and purchased two.  I absolutely love the way they look.

DSCN1651I also purchased 2 Adirondack chairs from Amazon.  They needed to be put together – and I did the first one by myself….took a little while with Jane (First Officer of Destruction) around.  *Cough*…….could have taken me…..*cough*….2 hours…*cough*.  Dave and I teamed up on Saturday and put the other one together in 30 minutes.

DSCN1662 
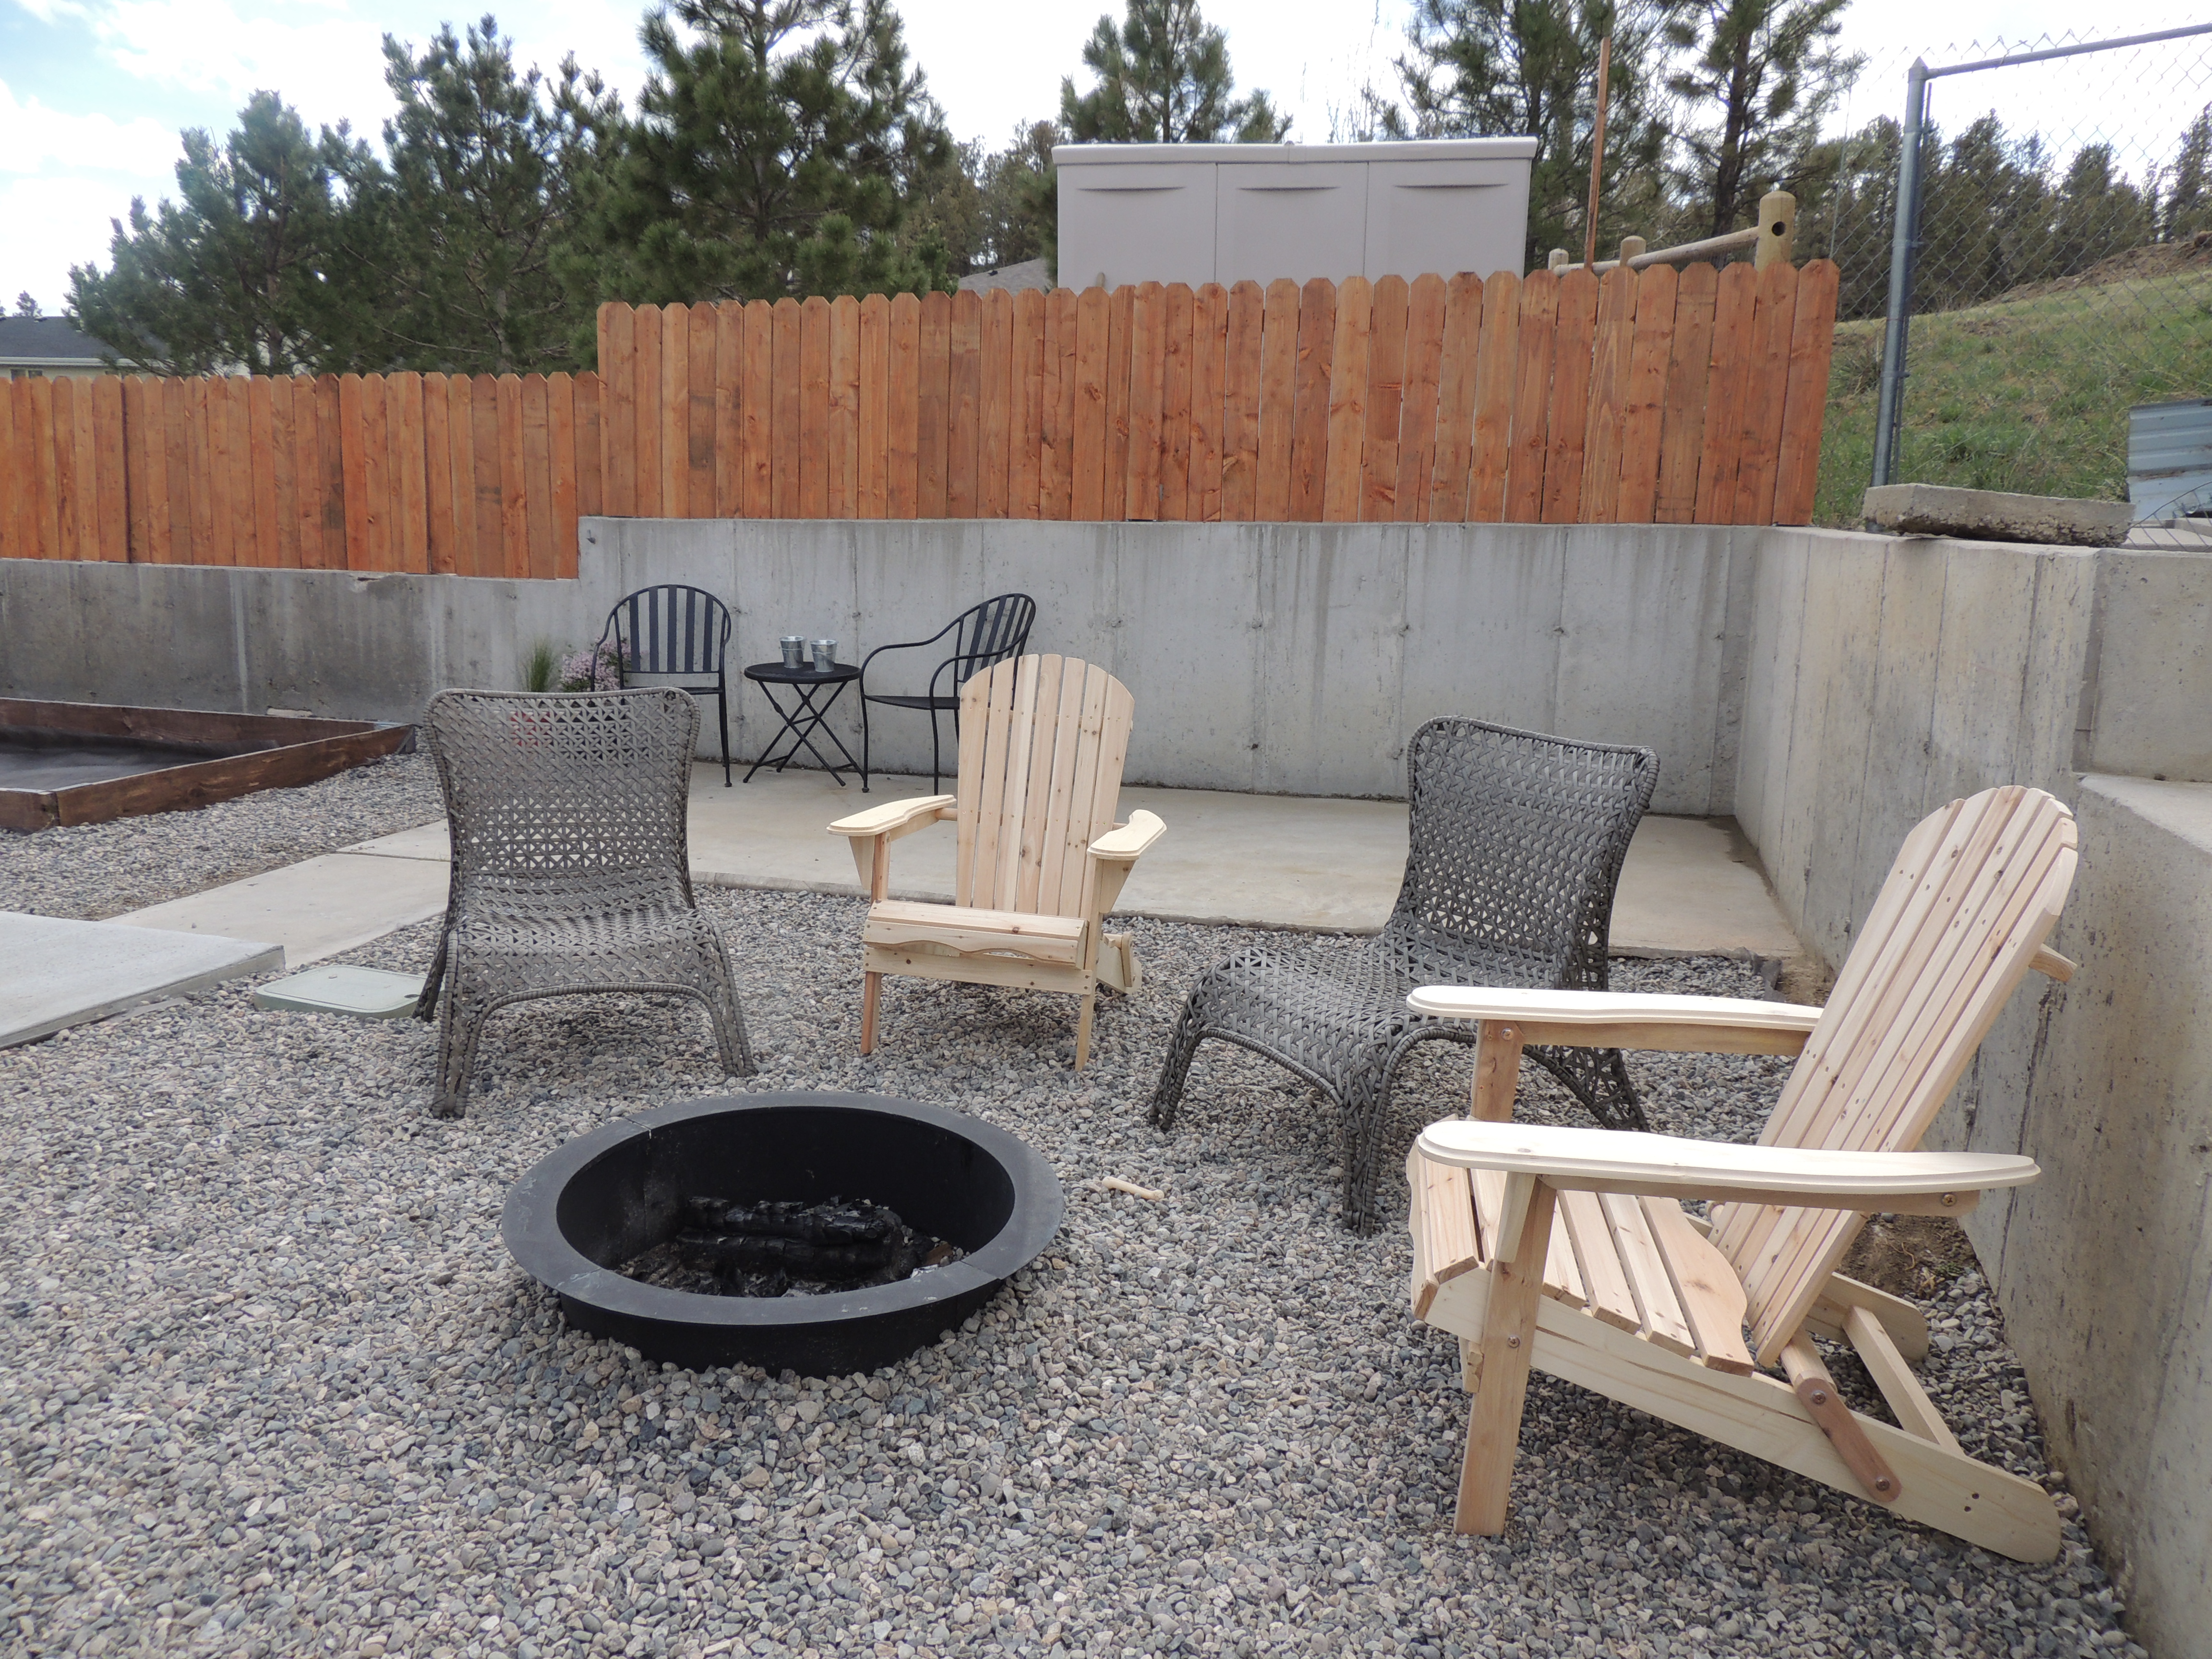
Next up – pulling my patio set from the wwwaaaayyyyyyy back of the shed.  I purchased this set at the end of the season last year and I am so excited to use it all summer.

DSCN1665
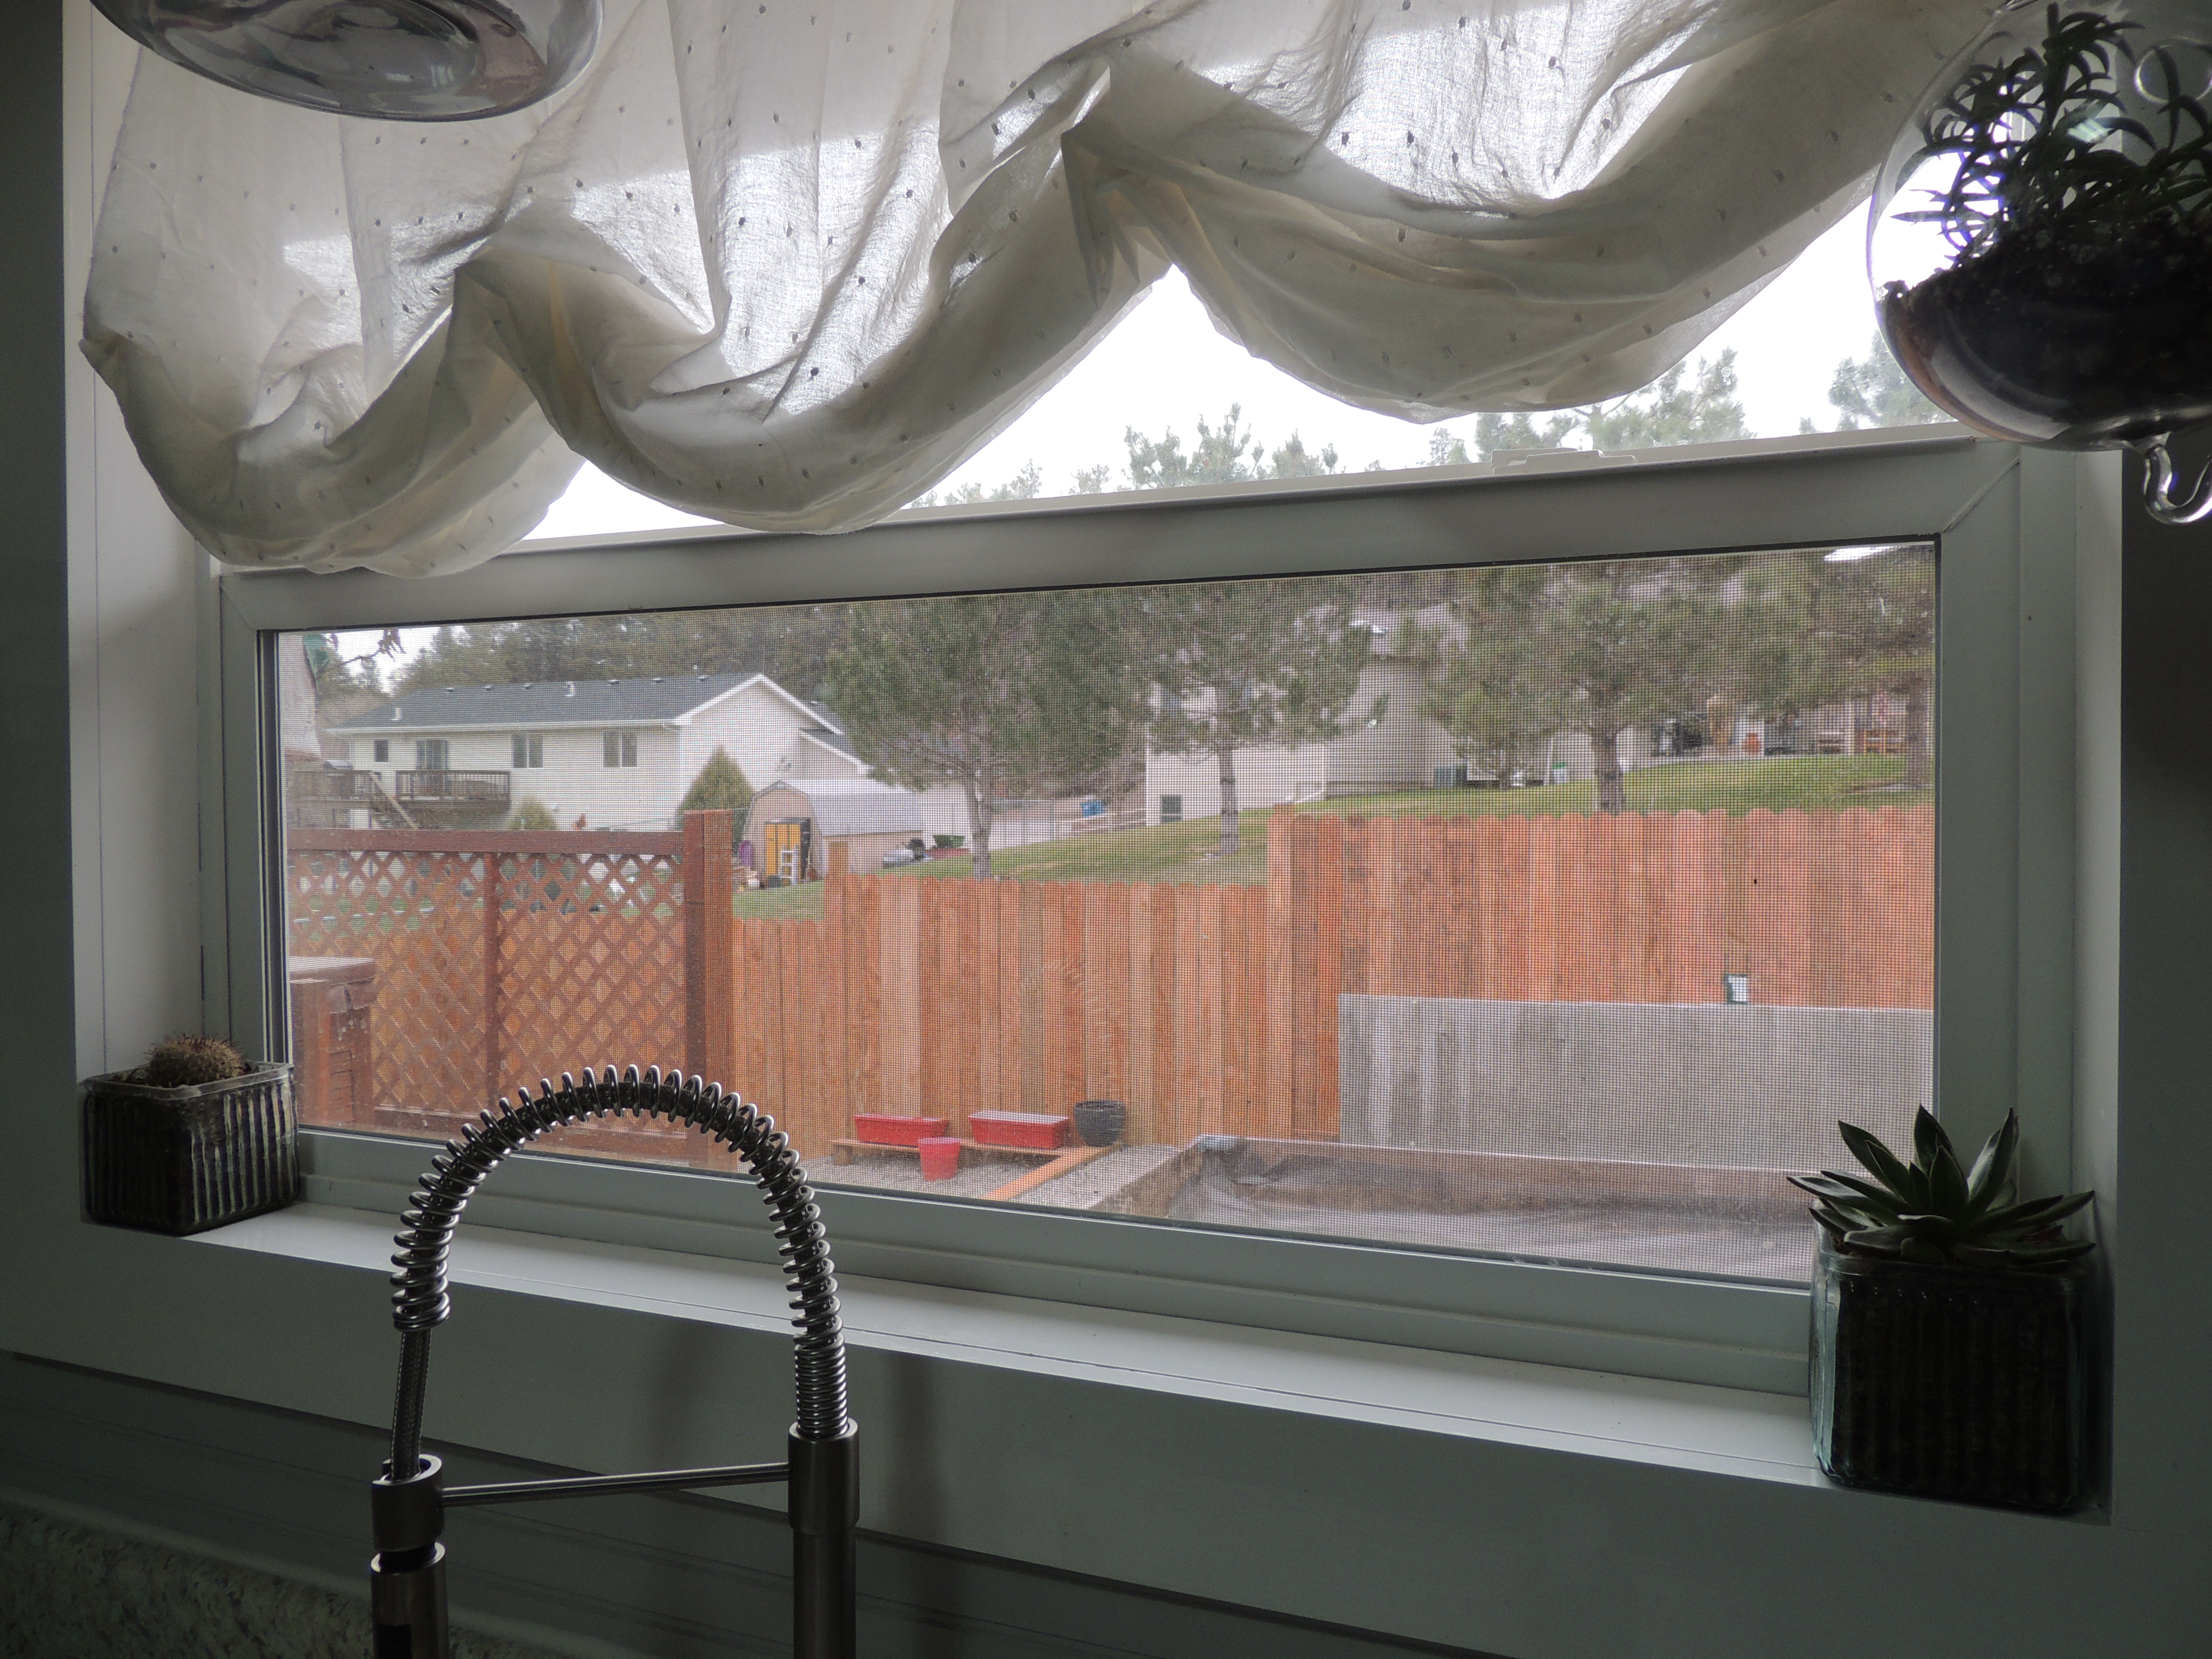
Two smaller projects – moving the compost we have been ‘making’ to the raised garden (you can see in the above and below picture) and adding in solar lights to the fence.  Dave drilled holes into the 4×4 posts and placed solar lights down the length of the fence.

DSCN1664As a final note – we were able to use the fire pit.  It was a tad bit chilly, but we powered through and it finally feels like spring….even if it did snow the next day 🙂

DSCN1659


Scrap Wood…Unite!!

All that scrap wood…..what to do, what to do?  As previously recorded here, here and here – Dave and I have been hard at work putting together our terraces and new fencing.  With all of the fencing up – I am now evaluating the wood scraps that I have left and narrowing down the projects that I would like to do to use them up.

First up – a new address sign for the front of the house.

DSCN1621Let’s get this party started…..those numbers I have been holding on to for about 6 months.  The numbers are from The Hillman Group – 5″ Brushed Nickel Floating Mount.

DSCN1622I used left over 2×4’s and the 3 foot long slats that were remaining from our fence.

DSCN1623I used Behr – Weather Proofing in Redwood as my protector.

DSCN1624The ever helpful numbers came with a stencil with the drill holes marked to make it easy on me.

DSCN1631Awesome!!!!  Incidentally, the stain on the front porch is the same as the address sign.

Second up is less eye catching but is the starting point for my container garden on the lower level terrace.

DSCN1625I built those two planter holders with left over 4×4 posts and 2 3ft slats.  With all of the gravel and only one raised garden planned for this year…..I am planning on pulling together a layered container garden to bring more green to the back yard…….maybe something like this (with more MT friendly plants)


Or this…..

Whew – Top terrace complete

Dave and I are felling very relieved…..all of that manual labor (click here for a recap) is coming to an end.  My gardens are still on the list…..but the largest project of creating the terraces and getting the fence and gravel completed is DONE!!!!  This two week project was a challenge for us – we worked through rain and snow, but the end of the tunnel is here and I am so pleased.

DSCN1620The fire pit will be on this level and I cannot wait to sit down and have a beer.

DSCN1626I am so happy – if you look to the right, there are some flower pot additions to the mix.  I have a large amount of scraps from the fence so I have been working on a few things to use those scraps up and not waste them…..check out the next post for that.

DSCN1627I will now have a fabulous view out my kitchen window.  SOOOO looking forward to having my garden in and reaping the rewards.

The start of something manual laborish

This weekend was the kickoff for the backyard update.  Update seems so mellow after I am on this side of the 2 work days.  I am exhausted!  Part of our to do list before the start of camping season is to get our garden prepped.  Unfortunately – we need to completely start over in the garden department – so we used this weekend as our backyard update kickoff.  Here is a totally awesome sketch I did of what the yard should look like.

DSCN1602Look at that.  I feel like I did this in school.   First step was to take out the chain link fence where all of the purple stuff labeled Privacy Fence is on the sketch.  Then Dave was able to get in with a mini Bobcat and move some dirt around.  The Bobcat was imperative because we are built into a hill and our yard has some serious slope going on.

DSCN1598The layer of turf is gone and flat ‘terraces’ were created on each side of the house.  The terraces will help keep the gravel where we need it to be.

DSCN1601The Privacy Fence has been put into place.  We have a few more finishing touches to do – fill the spot between the fence and the retaining wall, build 2 gates and map out what type of fencing we will put up on top of the retaining wall.  First and only idea so far for the retaining wall is a short tiered 3 foot privacy fence.  This will allow us to match the fence we just put up but also keep it low enough to (hopefully) save the fence from wind destruction.

DSCN1600Those large timbers will be for the steps and the slats are waiting for gates.  Once all the fencing and gates are up we will be ready to complete the finish work on the dirt leveling, the gravel and building the raised gardens….did I say gardens?  Yup.  I know the sketch only had one on it……but I think I need two  🙂

Wish us luck.